云友“一滴水2015”想知道 flask 在阿里云的运行示例 ,所以搜索资料,实践如下。
环境:debian 7 64位。在本例,假设flask文件存储在用户aliyun用户目录中。
过程:
1.编辑 /etc/apt/sources.list 内容,以适合当前系统版本:
deb http://mirrors.aliyuncs.com/debian/ wheezy main non-free contrib
deb http://mirrors.aliyuncs.com/debian/ wheezy-updates main non-free contrib
deb http://mirrors.aliyuncs.com/debian/ wheezy-backports main non-free contrib
deb-src http://mirrors.aliyuncs.com/debian/ wheezy main non-free contrib
deb-src http://mirrors.aliyuncs.com/debian/ wheezy-updates main non-free contrib
deb-src http://mirrors.aliyuncs.com/debian/ wheezy-backports main non-free contrib
deb http://mirrors.aliyuncs.com/debian-security/ wheezy/updates main non-free contrib
deb-src http://mirrors.aliyuncs.com/debian-security/ wheezy/updates main non-free contrib
2.更新软件源:
apt-get update
3.安装相关的软件:
apt-get install python-pip python-dev nginx
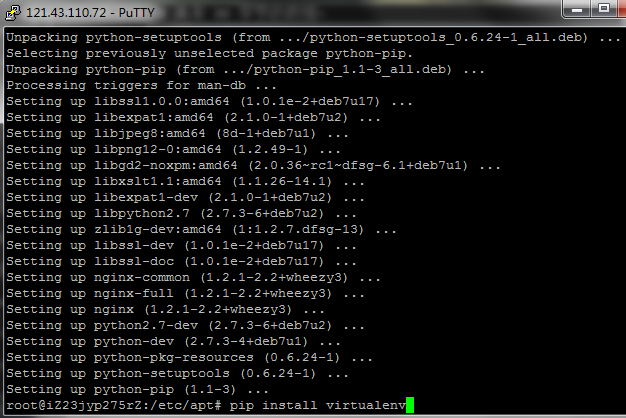
4.安装 virtualenv
pip install virtualenv
5.切换到 aliyun 用户,创建目录 myapps
su aliyun
mkdir ~/myapps
cd ~/myapps
6.创建虚拟环境:
virtualenv myappsenv
7.激活当前虚拟环境:
source myappsenv/bin/activate
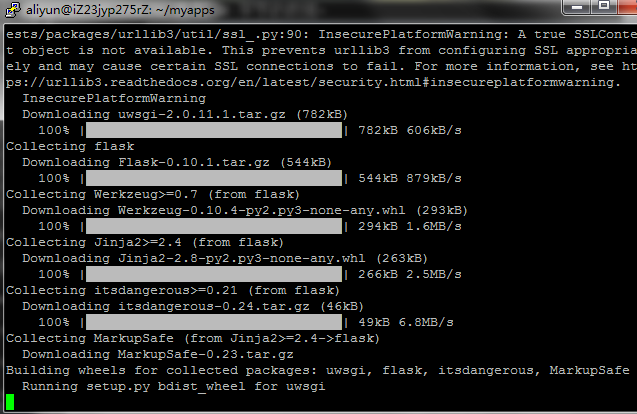
8.安装 uwsgi 和 flask
pip install uwsgi flask
9.创建一个新的测试文件 hello.py ,内容如下:
from flask import Flask
application = Flask(__name__)
@application.route("/")
def hello():
    return "<h1 style='color:blue'>Hello Aliyun!</h1>"
if __name__ == "__main__":
    application.run(host='0.0.0.0')
10.测试,是否能运行成功:
python hello.py
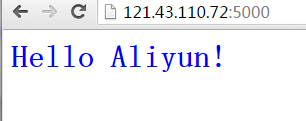
11.创建 wsgi.py 文件,内容如下:
from hello import application
if __name__ == "__main__":
    application.run()
12.运行 uwsgi,看看是否成功:
uwsgi --socket 0.0.0.0:8000 --protocol=http -w wsgi
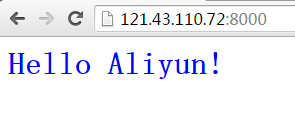
13.退出python虚拟环境:
deactivate
14.创建uwsgi配置文件 myapp.ini,内容如下:
[uwsgi]
module = wsgi
master = true
processes = 2
uid = aliyun
gid = www-data
socket = myapp.sock
chmod-socket = 660
vacuum = true
die-on-term = true
15.返回到root账户,创建uwsgi启动脚本 /etc/init.d/myapp 内容如下:
#! /bin/sh
### BEGIN INIT INFO
# Provides: myapp
# Should-Start: console-screen dbus network-manager
# Required-Start: $remote_fs $network $local_fs
# Required-Stop: $remote_fs
# Default-Start: 2 3 4 5
# Default-Stop: 0 1 6
# Short-Description: start myprogram at boot time
### END INIT INFO
#
PROGRAMNAME="uwsgi"
case "$1" in
start)
     /bin/su - aliyun -c "source /home/aliyun/myapps/myappsenv/bin/activate; cd /home/aliyun/myapps; uwsgi --ini myapp.ini" &
     ;;
stop)
     skill $PROGRAMNAME
     ;;
esac
exit 0
16.为此脚本设置为执行权限,且开机自启动:
chmod +x /etc/init.d/myapp
insserv myapp
17.创建nginx站点配置文件 /etc/nginx/sites-available/myapp ,内容如下:
server {
    listen 80;
    server_name yun.anqun.org;
    location / {
        include uwsgi_params;
        uwsgi_pass unix:/home/aliyun/myapps/myapp.sock;
    }
}
18.启用站点,且将www-data用户加到aliyun组中:
ln -s /etc/nginx/sites-available/myapp /etc/nginx/sites-enabled
usermod -a -G aliyun www-data
19.重启系统,测试是否能访问:
reboot
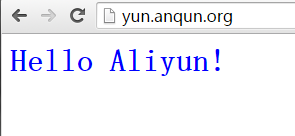
参数:
