用较高配置的机子,安装 proxmox 来提供 kvm 虚拟化环境,创建包括Windows在内的客户虚拟机,是挺方便的。
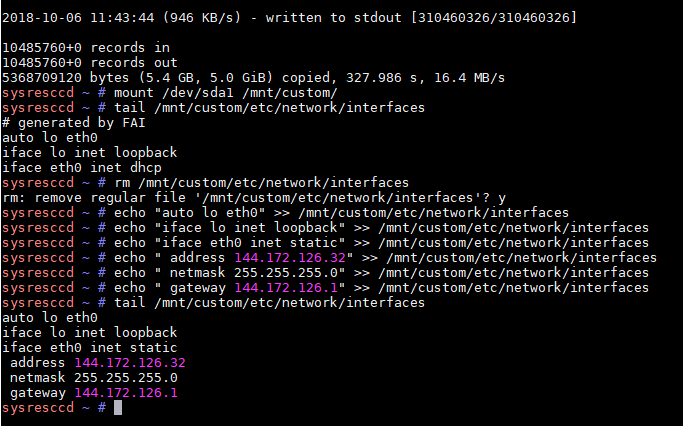
本例是在已有的Debian9环境里,安装proxmox5,创建Windows10客户机。
过程:
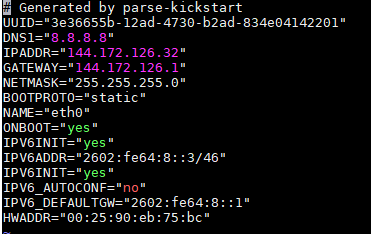
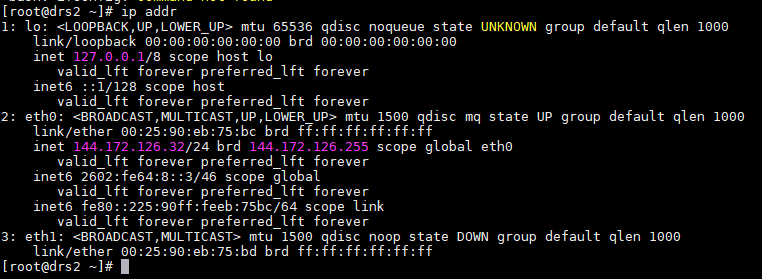
1.vi /etc/hosts # 检查本机主机名是否与本机IP绑定好,如本例 144.172.126.32 drs2.anqun.org drs2,即drs2指向144.172.126.32

2.echo "deb http://download.proxmox.com/debian/pve stretch pve-no-subscription" > /etc/apt/sources.list.d/pve-install-repo.list # 添加 proxmox 安装源
3.wget http://download.proxmox.com/debian/proxmox-ve-release-5.x.gpg -O /etc/apt/trusted.gpg.d/proxmox-ve-release-5.x.gpg # 添加 proxmox 安装源的验证匙
4.echo 1 > /proc/sys/net/ipv6/conf/all/disable_ipv6 # 如果本机IPv6无法访问外网,可临时禁用IPv6
5.apt update && apt dist-upgrade # 更新软件安装源和升级系统
6.apt install proxmox-ve postfix open-iscsi # 安装 proxmox,这步耗时久些
7.reboot # 重启系统
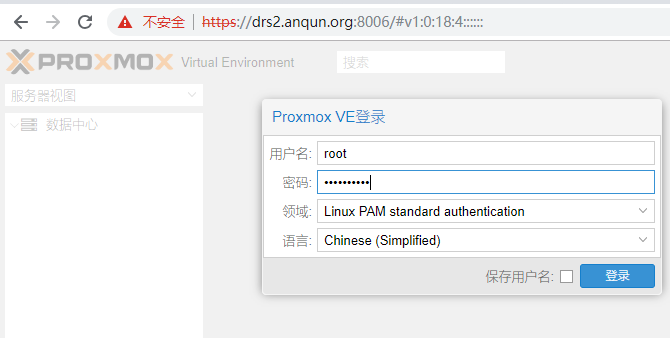
8.浏览器访问https://ip-地址:8006,登录到proxmox管理台,如本例 https://drs2.anqun.org:8006,输入系统root用户及密码
9.先创建Linux Bridge的网络,等会创建虚拟机要用到
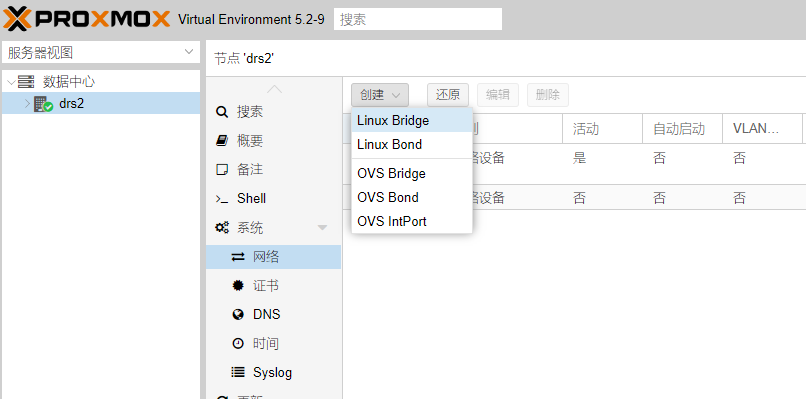
10.Linux Bridge vmbr0 的IP设置为10.10.10.1,掩码是255.255.255.0
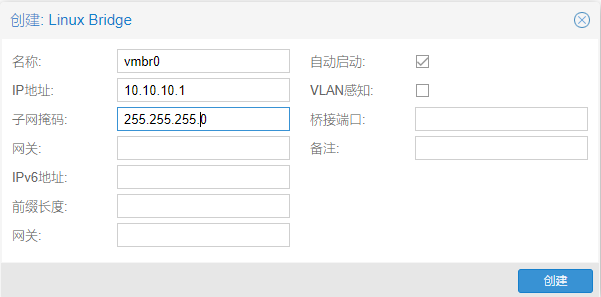
11.开始创建虚拟机

12.Guest OS,客户机选择微软的Windows 10/Windows 2016
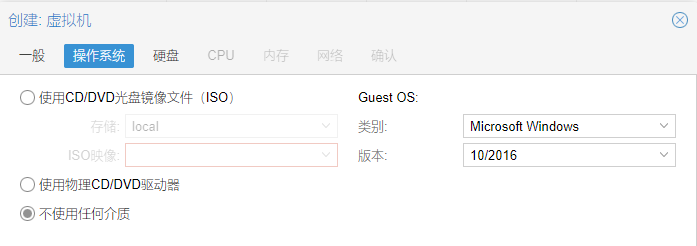
13.硬盘,本例是选择了 VirtIO Block,100 GB,RAW硬盘映像

14.CPU,本例是选择了四核心

15.内存,本例分配了8 GB

16.网络,本例选择了桥接的vmbr0,模型为 VirtIO

17.确认创建
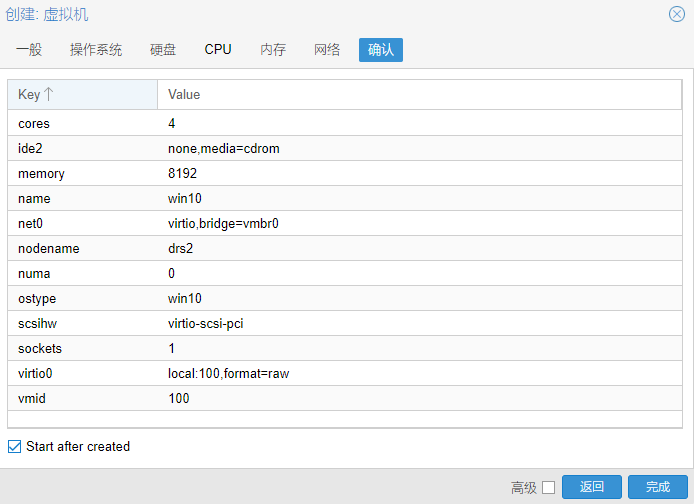
18.启动机子后,可以打开 noVNC 控制台
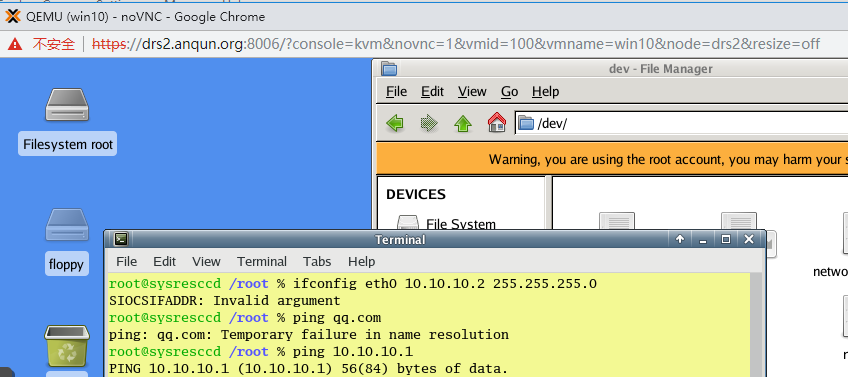
19.echo 1 > /proc/sys/net/ipv4/ip_forward # 启用IPv4转发
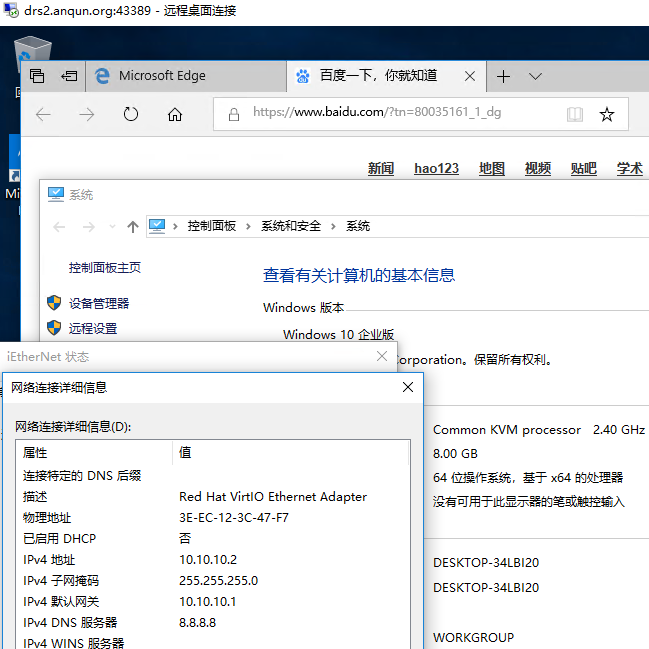
20.iptables -t nat -A POSTROUTING -s '10.10.10.0/24' -o eth0 -j MASQUERADE # 通过iptables,让位于10.10.10.0内网的客户机,经NAT访问互联网。其中eth0是proxmox里配置有公网IP的网卡名称
21.iptables -t nat -A PREROUTING -i eth0 -p tcp --dport 43389 -j DNAT --to 10.10.10.2:3389 # 通过iptables,将公网43389端口转发到客户机10.10.10.2的3389,用于远程桌面连接
22.在客户机上安装好Windows10,开启远程桌面功能。从外网,用tcp 43389的端口进行远程桌面连接,成功
参考:


