在 FreeBSD 12 里安装 nfsen
参考“毛蛋哥”的文档,在 FreeBSD 12 里尝试安装 nfsen。用一个VirtualBox虚拟机测试,目的是让nfsen portraker 在浏览器里显示出图表,不做网络流量分析。
1.下载现成的虚拟机虚拟磁盘文件,如国内的可从阿里云镜像点下载 https://mirrors.aliyun.com/freebsd/releases/VM-IMAGES/12.0-RELEASE/amd64/Latest/FreeBSD-12.0-RELEASE-amd64.vhd.xz
2.下载好磁盘文件后,解压。在VirtualBox里创建虚拟机,配置虚拟机用现有的,刚下载到的磁盘文件,虚拟网卡为“桥接网络”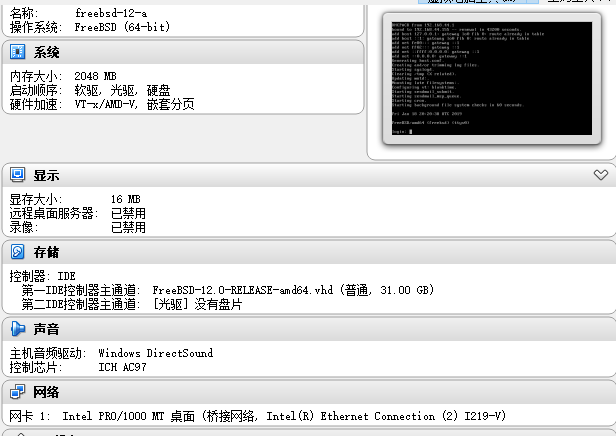
3.root账户密码默认为空。新增一个普通用户,添加到wheel组中,可ssh登录输入操作,较方便
4.sysrc sshd_enable=YES # 配置sshd服务
5.service sshd start # 启动sshd服务
6.以普通用户ssh登录,然后通过su切换到root
7.pkg # 运行pkg,如果没有安装,会提示下载和安装
8.pkg install fprobe # 如需fprobe,可使用pkg便捷安装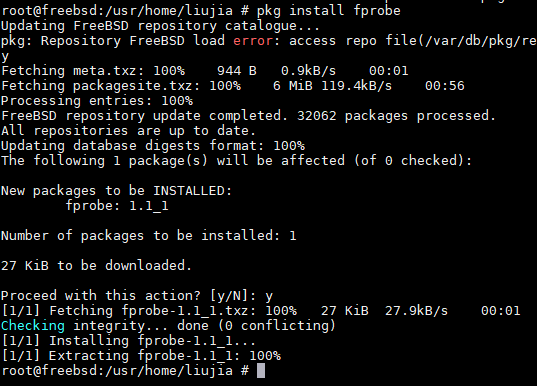
9.portsnap fetch # 获取 ports
10.portsnap extract # 展示 ports
11.pkg install nfsen # 安装 nfsen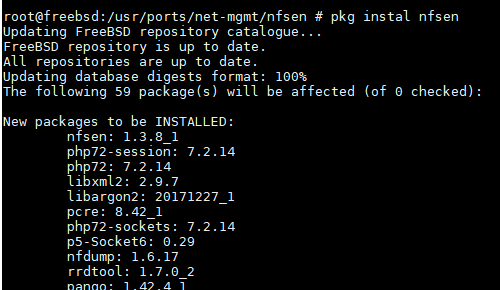
12.pkg install apache24 # 安装 apache24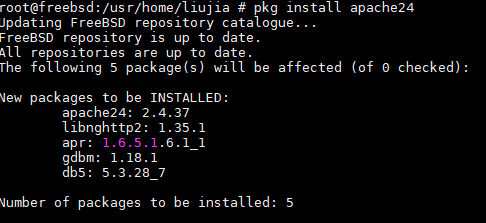
13.sysrc apache24_enable=yes # 配置 apache24 服务
14.sysrc php_fpm_enable=yes # 配置 php-fpm 服务
15.vi /usr/local/etc/apache24/httpd.conf # 编辑 apache24 配置文件,启用 mod_proxy 和 mod_proxy_fcgi 模块
16.继续编辑httpdconf配置文件,替换默认文件路径 /usr/local/www/apache24/data 为 nfsen 的 /usr/local/www/nfsen,添加php文件处理 ProxyPassMatch ^/(.*.php)$ fcgi://127.0.0.1:9000/usr/local/www/nfsen/$1 ,添加 nfsen.php 默认首页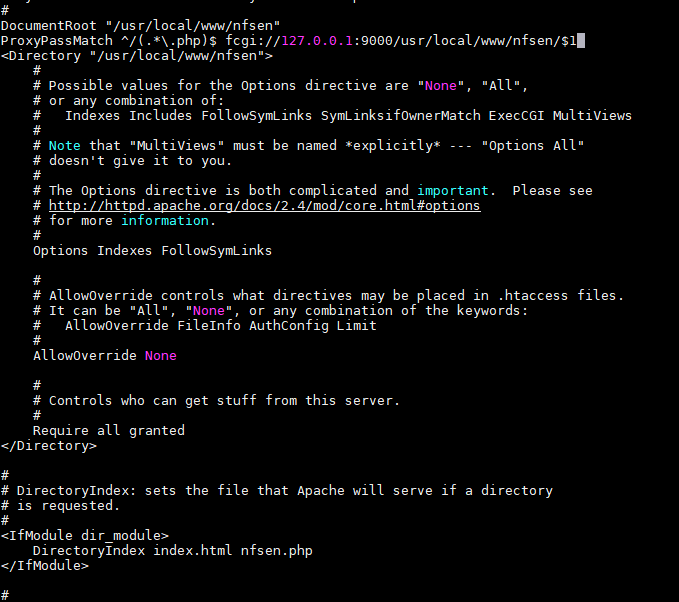
17.service php-fpm start # 启动 php-fpm 服务
18.service apache24 start # 启动 apache24 服务
19.在浏览器里访问虚拟机的IP,如果看到nfsen的报错信息,那apache和php基本上可以运行了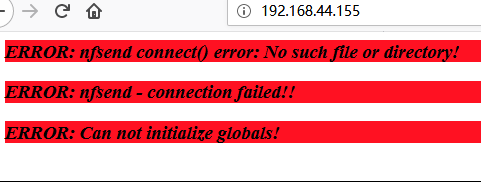
20.vi /usr/local/etc/nfsen.conf # 编辑nfsen配置文件,修改netflow数据源地址
21.sysrc nfsen_enable=yes # 配置 nfsen 服务
22.service nfsen start # 尝试启动 nfsen 服务
23.nfsen reconfig # 如果启动失败,会提示需先配置
24.cd /usr/ports/net-mgmt/nfdump/ # 切换到nfdump的ports路径
25.make # 编译,记得要勾选nftrack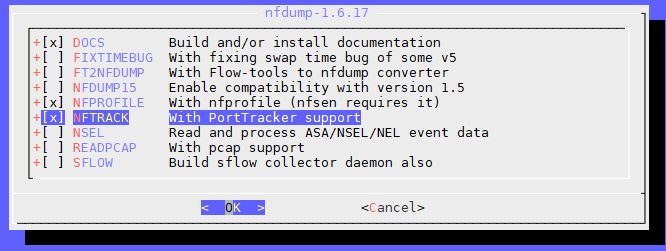
26.cp /usr/ports/net-mgmt/nfdump/work/nfdump-1.6.17/bin/.libs/nftrack /usr/local/bin/ # 复制 nftrack 
27.rehash
28.mkdir /usr/local/var/nfsen/portsdb
29.cp /usr/ports/net-mgmt/nfsen/work/nfsen-1.3.8/contrib/PortTracker/PortTracker.pm /usr/local/libexec/nfsen/plugins/ # 复制 PortTracker.pm。如果提示没有找到文件,可转到 /usr/ports/net-mgmt/nfsen,make之后看是否会自动生成
30.cp /usr/ports/net-mgmt/nfsen/work/nfsen-1.3.8/contrib/PortTracker/PortTracker.php /usr/local/www/nfsen/plugins/ # 复制 PortTracker.php
31.vi /usr/local/libexec/nfsen/plugins/PortTracker.pm # 编辑PortTracker配置文件,修改 $PORTSDBDIR 的路径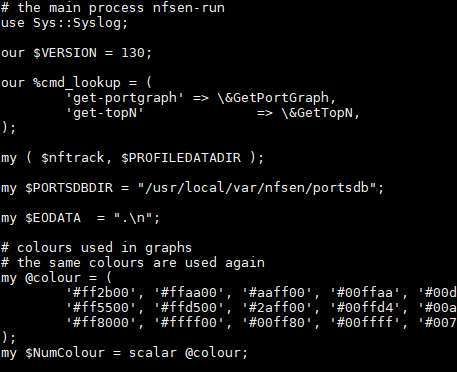
32.vi /usr/local/etc/nfsen.conf # 编辑 nfsen 配置文件,增加插件 PortTracker @plugins 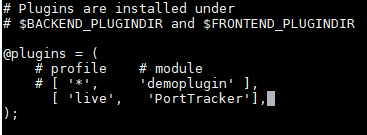
33.nftrack -I -d /usr/local/var/nfsen/portsdb/ # 初始化数据文件
34.touch /usr/local/var/nfsen/portsdb/portstat.txt /usr/local/var/nfsen/portsdb/portstat24.txt # 创建记录文件
35.chown -R www:www /usr/local/var/nfsen/portsdb # 更改数据目录权限为web用户的
36.service nfsen restart # 尝试重启 nfsen 服务
37.等约五分钟后,再在浏览器里访问,可以看到nfsen相关页内容,如详情页: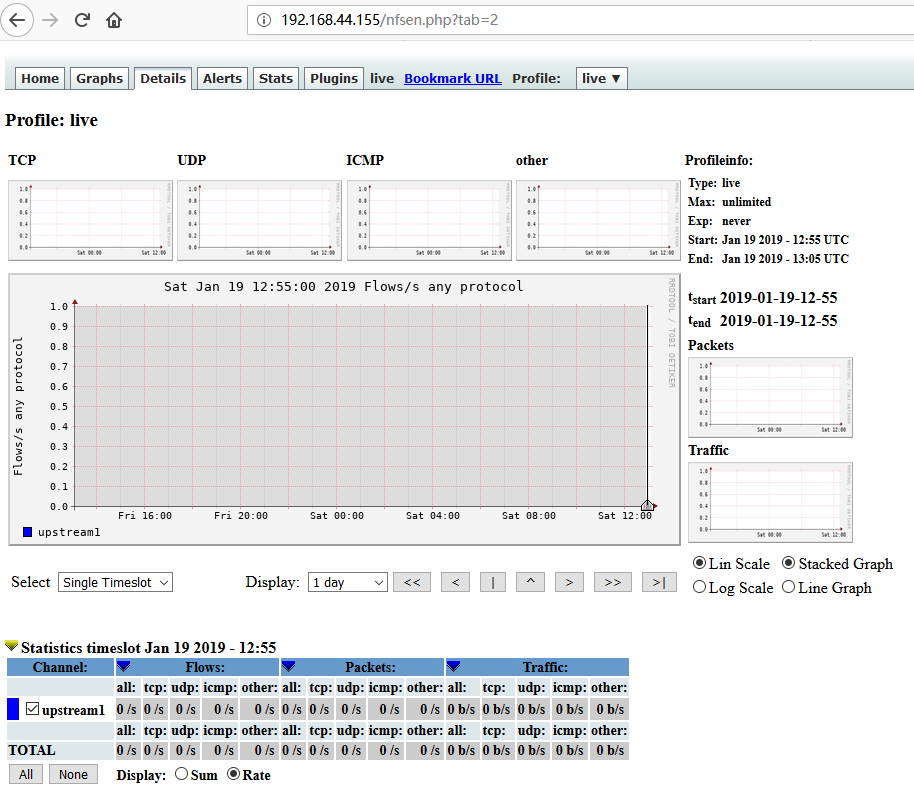
38.nfsen插件PortTracker页: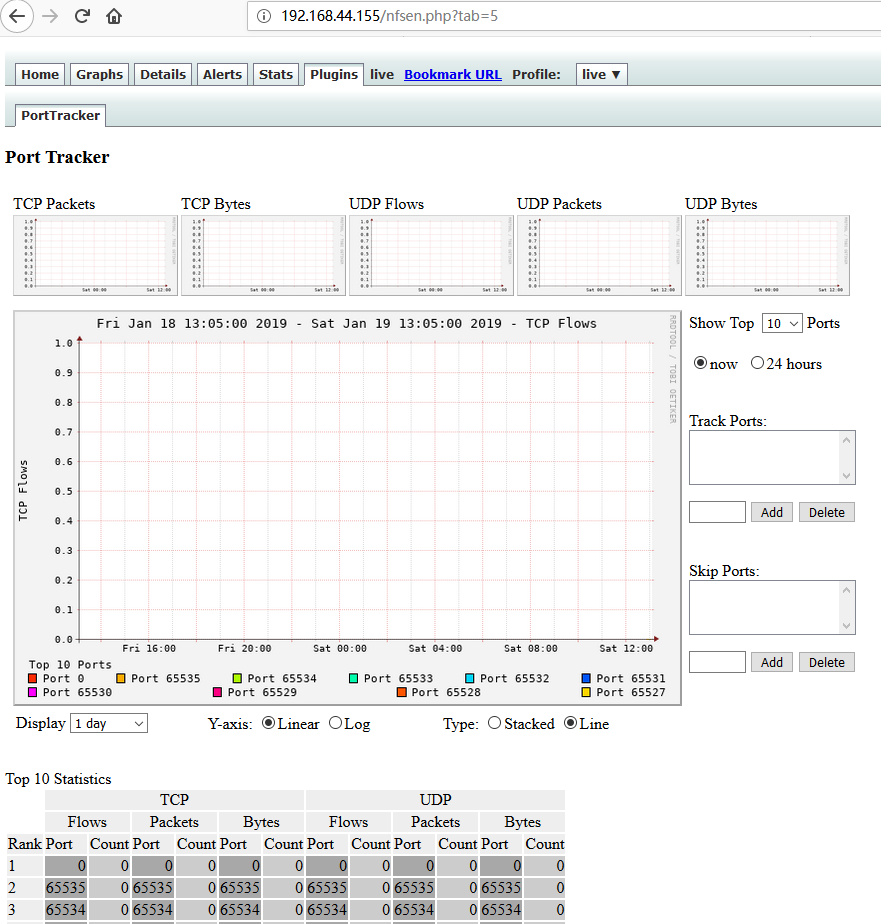
参考:
- 毛蛋哥,《Netflow网络流量分析手册》
- https://www.freebsd.org/doc/handbook/ports-using.html


