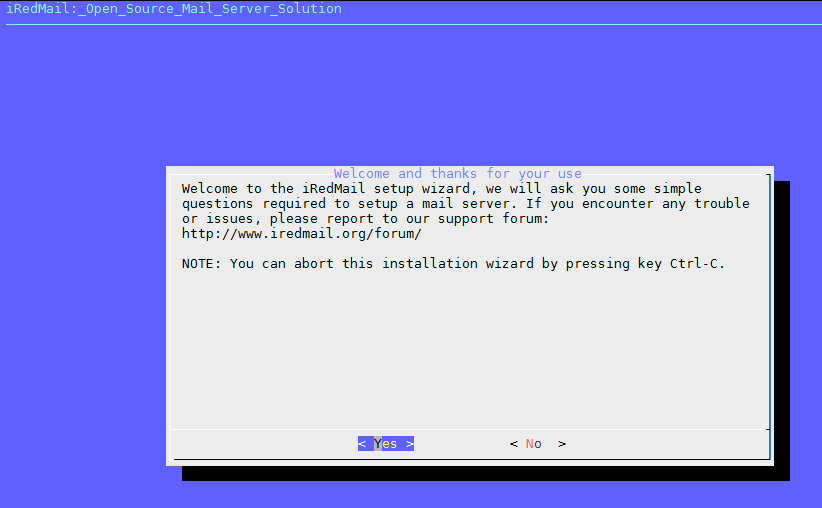
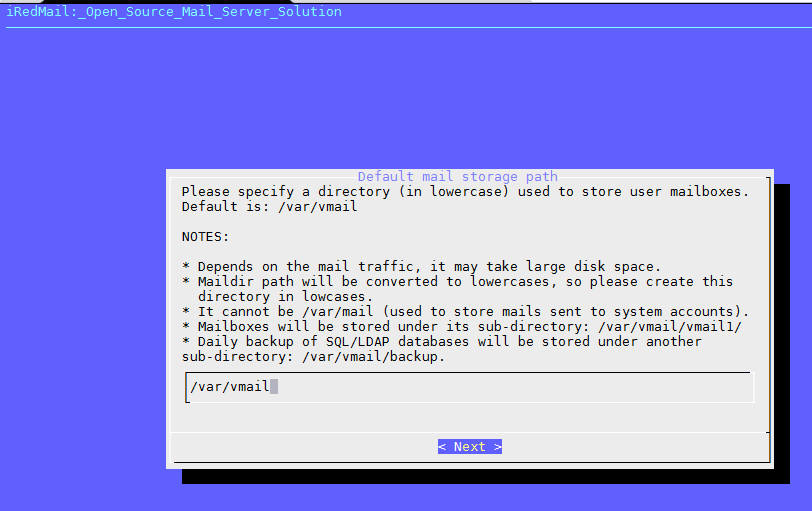
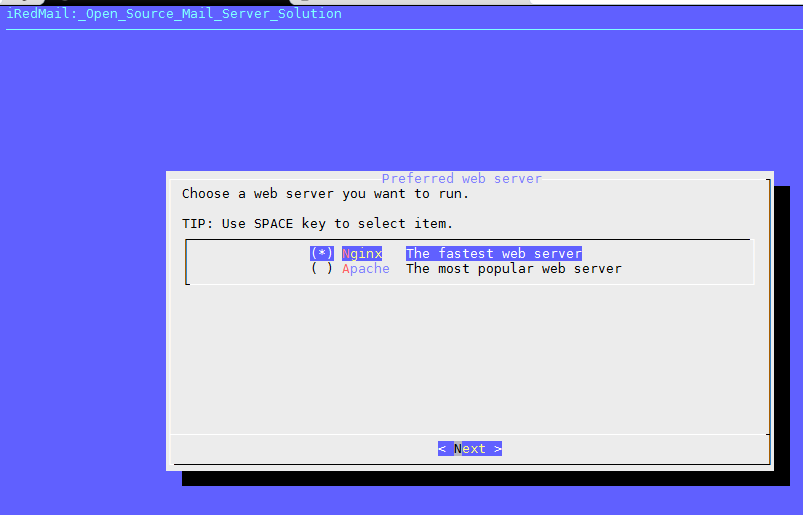
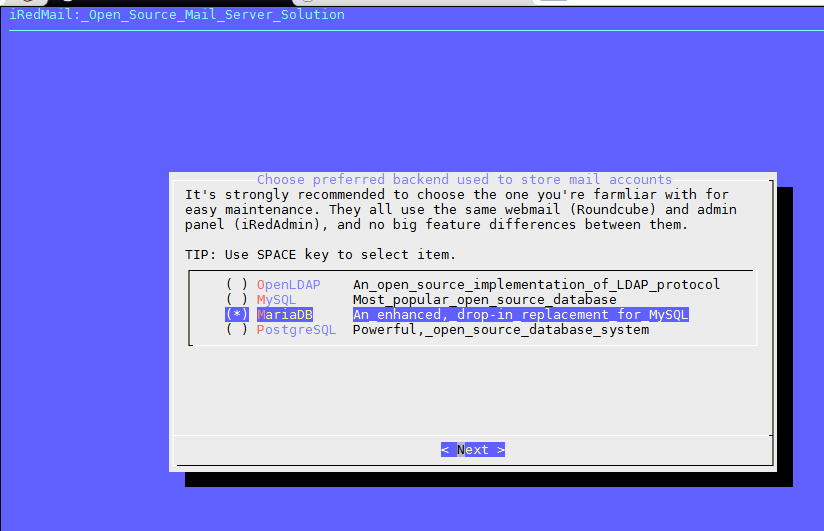
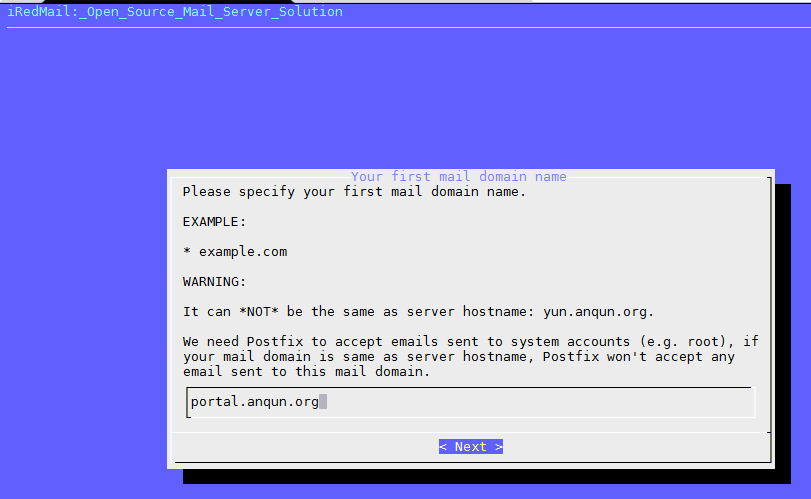
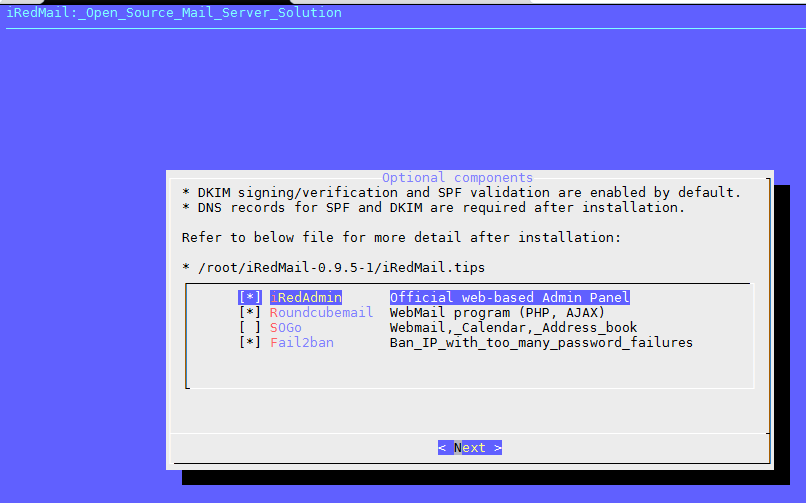
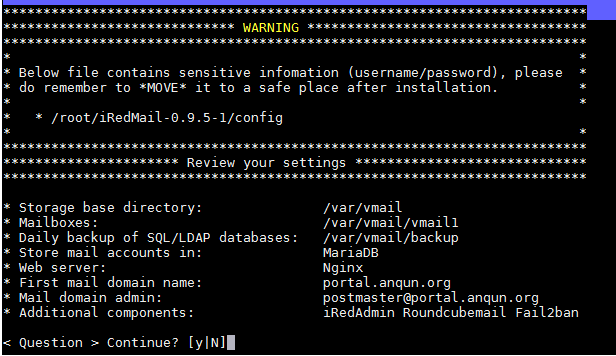
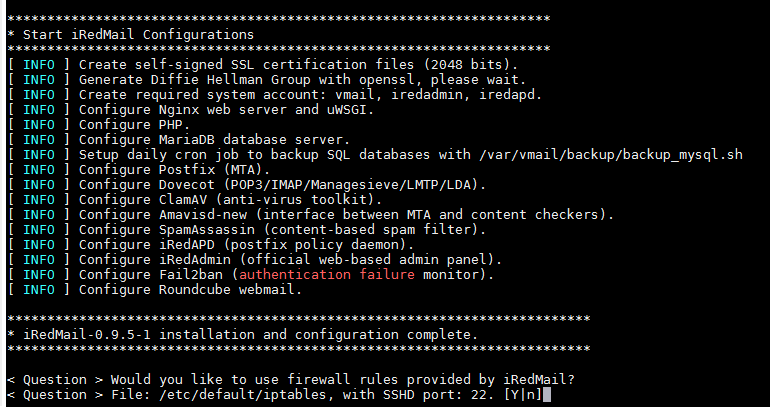
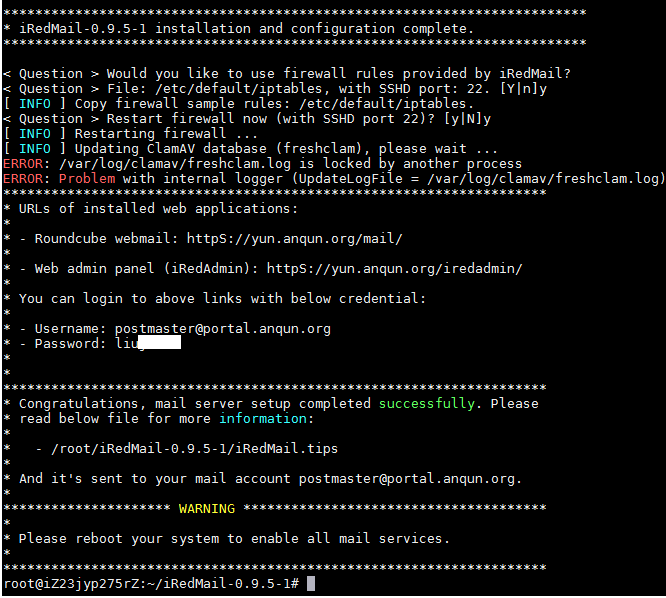
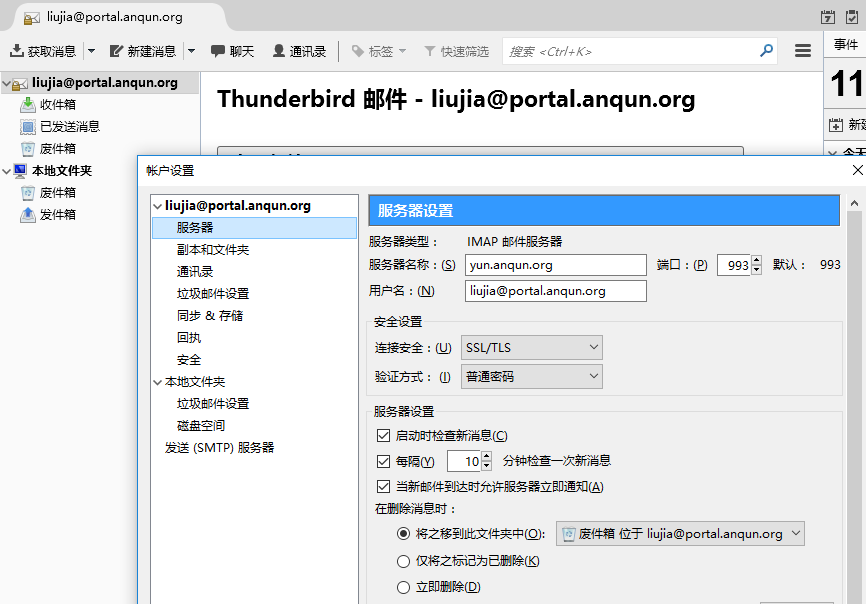
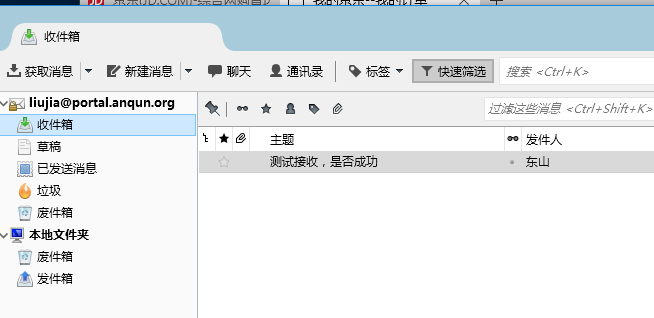
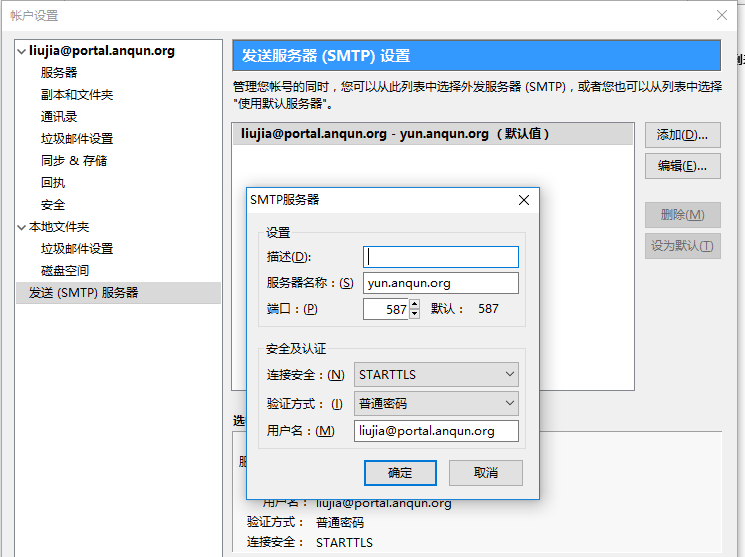
在前一个帖子 里,是用 iRedMail 快速自建邮局,现在尝试手动安装。安装过程主要参考国外的一个教程。
环境: debian 8 64位,mail 用户组数字ID是 8。假设 postfixadmin 的访问网址是:https://yun.anqun.org/postfixamdin , roundcube 的访问网址是: https://yun.anqun.org/webmail
过程:
1.更改ECS实例的主机名:
hostname yun.anqun.org
2.更改 /etc/hostname 文件中的名称,如本例是:
yun
3.更改 /etc/hosts 文件中的完整主机名称,如本例是:
127.0.0.1 yun.anqun.org yun localhost localhost.localdomain
4.更新软件
apt-get update
5.安装 nginx + php5 + mariadb 的 web 运行环境:https://bbs.aliyun.com/read/288162.html
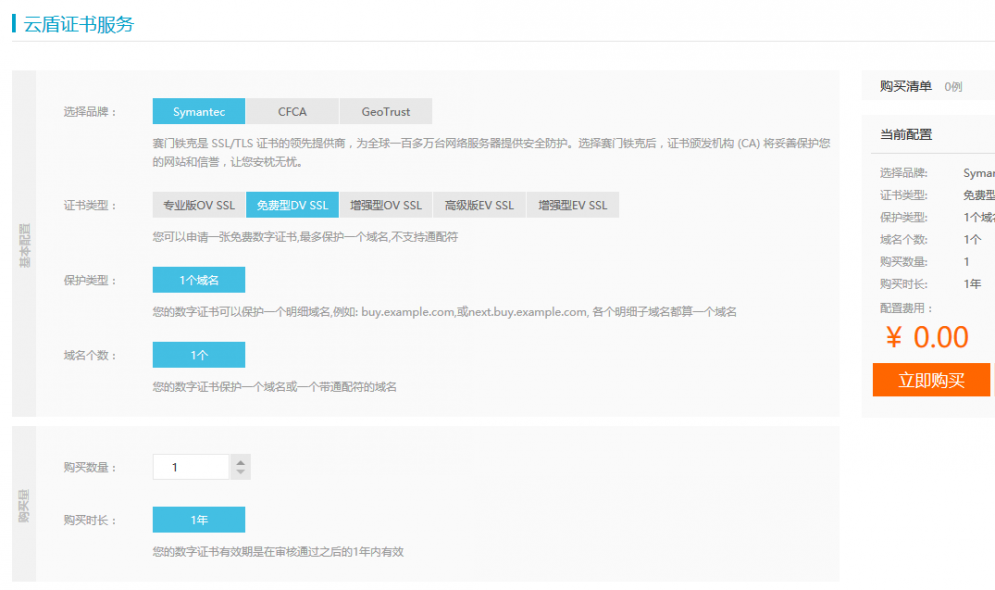
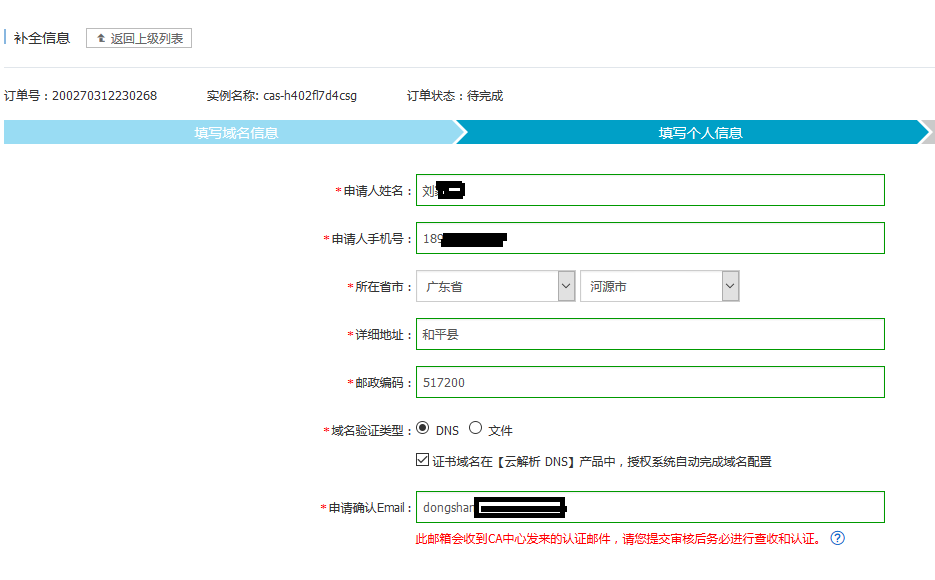
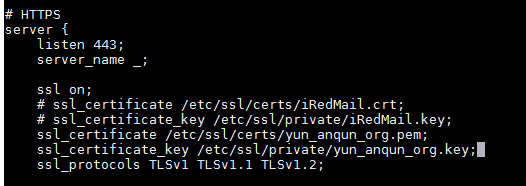
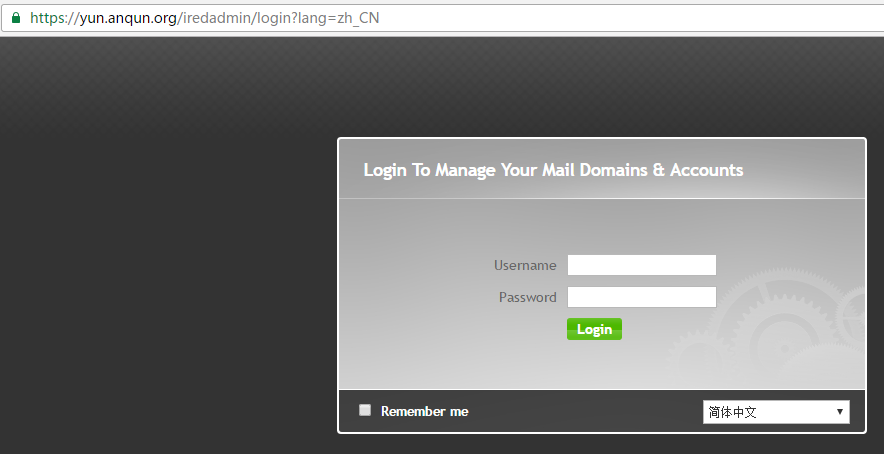
6.假设已经获取了 yun.anqun.org 的证书,为 nginx 配置 https 访问
6.安装相关的软件:
apt-get install postfix postfix-mysql dovecot-core dovecot-imapd dovecot-lmtpd dovecot-mysql php5-imap php5-mysql php5-mcrypt php5-intl php-apc php5-memcache php5-curl php5-gd php-xml-parser php5-imap
7.创建一个新的mysql数据库 postfdb :数据库用户 postuser:密码是 aqtest46 ,给予相应权限,预备给 postfixadmin 使用:
create database postfdb;
grant all on postfdb.* to 'postuser'@'localhost' identified by 'aqtest46';
8.下载 postfixadmin 的安装文件包:
wget http://nchc.dl.sourceforge.net/project/postfixadmin/postfixadmin/postfixadmin-3.0/postfixadmin-3.0.tar.gz
9.将 postfixadmin 解压到 /var/www/html/postfixadmin,创建 config.local.php 配置文件,包含 mysql 的连接信息:
<?php
$CONF['database_type'] = 'mysqli';
$CONF['database_user'] = 'postuser';
$CONF['database_password'] = 'aqtest46';
$CONF['database_name'] = 'postfdb';
$CONF['configured'] = true;
$CONF['domain_path'] = 'NO';
$CONF['domain_in_mailbox'] = 'YES';
?>
10.安装过程中,会让您新设配置密码,再让您创建邮局管理员账号
11.设置一个系统用户vmail(用户ID 150,属于mail组,用户目录在/var/vmail),用来“托管”所有的虚拟邮箱服务
useradd -r -u 150 -g mail -d /var/vmail -s /sbin/nologin -c "Virtual MailDir Handler" vmail
12.创建相应的目录,修改合适的权限
mkdir -p /var/vmail
chown vmail:mail /var/vmail
chmod 770 /var/vmail
13.开始配置 dovecot,修改数据库配置文件 /etc/dovecot/dovecot-sql.conf.ext ,内容如下:
# Database driver: mysql, pgsql, sqlite
driver = mysql
# Database Connection:
#   connect = host=192.168.1.1 dbname=users
#   connect = host=sql.example.com dbname=virtual user=virtual password=blarg
#   connect = /etc/dovecot/authdb.sqlite
#
connect = host=127.0.0.1 dbname=postfdb user=postuser password=aqtest46
# Default password scheme.
#
# List of supported schemes is in
# http://wiki2.dovecot.org/Authentication/PasswordSchemes
#
# Weak but common encryption scheme:
default_pass_scheme = MD5-CRYPT
#
# Comment the above out and uncomment below
# for stronger encryption:
#default_pass_scheme - SHA256-CRYPT
# Define the query to obtain a user password.
password_query = \
  SELECT username as user, password, '/var/vmail/%d/%n' as userdb_home, \
  'maildir:/var/vmail/%d/%n' as userdb_mail, 150 as userdb_uid, 8 as userdb_gid \
  FROM mailbox WHERE username = '%u' AND active = '1'
# Define the query to obtain user information.
user_query = \
  SELECT '/var/vmail/%d/%n' as home, 'maildir:/var/vmail/%d/%n' as mail, \
  150 AS uid, 8 AS gid, concat('dirsize:storage=', quota) AS quota \
  FROM mailbox WHERE username = '%u' AND active = '1'
14.修改认证配置文件 /etc/dovecot/conf.d/10-auth.conf,内容如下:
# Disable LOGIN command and all other plaintext authentications unless
# SSL/TLS is used (LOGINDISABLED capability). Note that if the remote IP
# matches the local IP (ie. you're connecting from the same computer), the
# connection is considered secure and plaintext authentication is allowed.
disable_plaintext_auth = yes
# Space separated list of wanted authentication mechanisms:
#   plain login digest-md5 cram-md5 ntlm rpa apop anonymous gssapi otp skey
#   gss-spnego
# NOTE: See also disable_plaintext_auth setting.
auth_mechanisms = plain login
##
## Password and user databases
##
#
# Password database is used to verify user's password (and nothing more).
# You can have multiple passdbs and userdbs. This is useful if you want to
# allow both system users (/etc/passwd) and virtual users to login without
# duplicating the system users into virtual database.
#
# <doc/wiki/PasswordDatabase.txt>
#
# User database specifies where mails are located and what user/group IDs
# own them. For single-UID configuration use "static" userdb.
#
# <doc/wiki/UserDatabase.txt>
# Use the SQL database configuration rather than any of the others.
!include auth-sql.conf.ext
15.修改邮件相关的配置文件:/etc/dovecot/conf.d/10-mail.conf,内容如下:
# Location for users' mailboxes. The default is empty, which means that Dovecot
# tries to find the mailboxes automatically. This won't work if the user
# doesn't yet have any mail, so you should explicitly tell Dovecot the full
# location.
#
# If you're using mbox, giving a path to the INBOX file (eg. /var/mail/%u)
# isn't enough. You'll also need to tell Dovecot where the other mailboxes are
# kept. This is called the "root mail directory", and it must be the first
# path given in the mail_location setting.
#
# There are a few special variables you can use, eg.:
#
#   %u - username
#   %n - user part in user@domain, same as %u if there's no domain
#   %d - domain part in user@domain, empty if there's no domain
#   %h - home directory
#
# See doc/wiki/Variables.txt for full list. Some examples:
#
#   mail_location = maildir:~/Maildir
#   mail_location = mbox:~/mail:INBOX=/var/mail/%u
#   mail_location = mbox:/var/mail/%d/%1n/%n:INDEX=/var/indexes/%d/%1n/%n
#
# <doc/wiki/MailLocation.txt>
#
mail_location = maildir:/var/vmail/%d/%n
# System user and group used to access mails. If you use multiple, userdb
# can override these by returning uid or gid fields. You can use either numbers
# or names. <doc/wiki/UserIds.txt>
mail_uid = vmail
mail_gid = mail
# Valid UID range for users, defaults to 500 and above. This is mostly
# to make sure that users can't log in as daemons or other system users.
# Note that denying root logins is hardcoded to dovecot binary and can't
# be done even if first_valid_uid is set to 0.
#
# Use the vmail user uid here.
first_valid_uid = 150
last_valid_uid = 150
# If you need to set multiple mailbox locations or want to change default
# namespace settings, you can do it by defining namespace sections.
#
# You can have private, shared and public namespaces. Private namespaces
# are for user's personal mails. Shared namespaces are for accessing other
# users' mailboxes that have been shared. Public namespaces are for shared
# mailboxes that are managed by sysadmin. If you create any shared or public
# namespaces you'll typically want to enable ACL plugin also, otherwise all
# users can access all the shared mailboxes, assuming they have permissions
# on filesystem level to do so.
namespace inbox {
  # Namespace type: private, shared or public
  #type = private
  # Hierarchy separator to use. You should use the same separator for all
  # namespaces or some clients get confused. '/' is usually a good one.
  # The default however depends on the underlying mail storage format.
  #separator =
  # Prefix required to access this namespace. This needs to be different for
  # all namespaces. For example "Public/".
  #prefix =
  # Physical location of the mailbox. This is in same format as
  # mail_location, which is also the default for it.
  #location =
  # There can be only one INBOX, and this setting defines which namespace
  # has it.
  inbox = yes
  # If namespace is hidden, it's not advertised to clients via NAMESPACE
  # extension. You'll most likely also want to set list=no. This is mostly
  # useful when converting from another server with different namespaces which
  # you want to deprecate but still keep working. For example you can create
  # hidden namespaces with prefixes "~/mail/", "~%u/mail/" and "mail/".
  #hidden = no
  # Show the mailboxes under this namespace with LIST command. This makes the
  # namespace visible for clients that don't support NAMESPACE extension.
  # "children" value lists child mailboxes, but hides the namespace prefix.
  #list = yes
  # Namespace handles its own subscriptions. If set to "no", the parent
  # namespace handles them (empty prefix should always have this as "yes")
  #subscriptions = yes
}
16.修改ssl证书路径,/etc/dovecot/conf.d/10-ssl.conf ,内容如下:
ssl = yes
ssl_cert = </etc/ssl/certs/yun_anqun_org.pem
ssl_key = </etc/ssl/private/yun_anqun_org.key
17.修改配置文件 /etc/dovecot/conf.d/10-master.conf ,更改相应的用户和组,内容如下:
#default_process_limit = 100
#default_client_limit = 1000
# Default VSZ (virtual memory size) limit for service processes. This is mainly
# intended to catch and kill processes that leak memory before they eat up
# everything.
#default_vsz_limit = 256M
# Login user is internally used by login processes. This is the most untrusted
# user in Dovecot system. It shouldn't have access to anything at all.
#default_login_user = dovenull
# Internal user is used by unprivileged processes. It should be separate from
# login user, so that login processes can't disturb other processes.
#default_internal_user = dovecot
service imap-login {
  inet_listener imap {
    #port = 143
  }
  inet_listener imaps {
    #port = 993
    #ssl = yes
  }
  # Number of connections to handle before starting a new process. Typically
  # the only useful values are 0 (unlimited) or 1. 1 is more secure, but 0
  # is faster. <doc/wiki/LoginProcess.txt>
  #service_count = 1
  # Number of processes to always keep waiting for more connections.
  #process_min_avail = 0
  # If you set service_count=0, you probably need to grow this.
  #vsz_limit = $default_vsz_limit
}
service pop3-login {
  inet_listener pop3 {
    #port = 110
  }
  inet_listener pop3s {
    #port = 995
    #ssl = yes
  }
}
service lmtp {
  unix_listener lmtp {
    #mode = 0666
  }
  # Create inet listener only if you can't use the above UNIX socket
  #inet_listener lmtp {
    # Avoid making LMTP visible for the entire internet
    #address =
    #port =
  #}
}
service imap {
  # Most of the memory goes to mmap()ing files. You may need to increase this
  # limit if you have huge mailboxes.
  #vsz_limit = $default_vsz_limit
  # Max. number of IMAP processes (connections)
  #process_limit = 1024
}
service pop3 {
  # Max. number of POP3 processes (connections)
  #process_limit = 1024
}
service auth {
  # auth_socket_path points to this userdb socket by default. It's typically
  # used by dovecot-lda, doveadm, possibly imap process, etc. Users that have
  # full permissions to this socket are able to get a list of all usernames and
  # get the results of everyone's userdb lookups.
  #
  # The default 0666 mode allows anyone to connect to the socket, but the
  # userdb lookups will succeed only if the userdb returns an "uid" field that
  # matches the caller process's UID. Also if caller's uid or gid matches the
  # socket's uid or gid the lookup succeeds. Anything else causes a failure.
  #
  # To give the caller full permissions to lookup all users, set the mode to
  # something else than 0666 and Dovecot lets the kernel enforce the
  # permissions (e.g. 0777 allows everyone full permissions).
  unix_listener auth-userdb {
    mode = 0666
    user = vmail
    group = mail
  }
  # Postfix smtp-auth
  unix_listener /var/spool/postfix/private/auth {
    mode = 0666
    user = postfix
    group = postfix
  }
  # Auth process is run as this user.
  #user = $default_internal_user
}
service auth-worker {
  # Auth worker process is run as root by default, so that it can access
  # /etc/shadow. If this isn't necessary, the user should be changed to
  # $default_internal_user.
  #user = root
}
service dict {
  # If dict proxy is used, mail processes should have access to its socket.
  # For example: mode=0660, group=vmail and global mail_access_groups=vmail
  unix_listener dict {
    #mode = 0600
    #user =
    #group =
  }
}
18.更改权限,让dovecot和邮箱用户能读取相应的配置文件内容
chown -R vmail:dovecot /etc/dovecot
chmod -R o-rwx /etc/dovecot
20.开始配置postfix,检查mysql的监听地址是否为 127.0.0.1
cat /etc/mysql/my.cnf | grep bind-address
21.创建配置文件,/etc/postfix/mysql_virtual_alias_domainaliases_maps.cf,内容如下:
user = postuser
password = aqtest46
hosts = 127.0.0.1
dbname = postfdb
query = SELECT goto FROM alias,alias_domain WHERE alias_domain.alias_domain = '%d' AND alias.address=concat('%u', '@', alias_domain.target_domain) AND alias.active = 1
22.创建配置文件,/etc/postfix/mysql_virtual_alias_maps.cf ,内容如下:
user = postuser
password = aqtest46
hosts = 127.0.0.1
dbname = postfdb
table = alias
select_field = goto
where_field = address
additional_conditions = and active = '1'
23.创建配置文件,/etc/postfix/mysql_virtual_domains_maps.cf,内容如下:
user = postuser
password = aqtest46
hosts = 127.0.0.1
dbname = postfdb
table = domain
select_field = domain
where_field = domain
additional_conditions = and backupmx = '0' and active = '1'
24.创建配置文件,/etc/postfix/mysql_virtual_mailbox_domainaliases_maps.cf ,内容如下:
user = postuser
password = aqtest46
hosts = 127.0.0.1
dbname = postfdb
query = SELECT maildir FROM mailbox, alias_domain
  WHERE alias_domain.alias_domain = '%d'
  AND mailbox.username=concat('%u', '@', alias_domain.target_domain )
  AND mailbox.active = 1
25.创建配置文件,/etc/postfix/mysql_virtual_mailbox_maps.cf,内容如下:
user = postuser
password = aqtest46
hosts = 127.0.0.1
dbname = postfdb
table = mailbox
select_field = CONCAT(domain, '/', local_part)
where_field = username
additional_conditions = and active = '1'
26.创建配置文件,/etc/postfix/header_checks ,内容如下:
/^Received:/                 IGNORE
/^User-Agent:/               IGNORE
/^X-Mailer:/                 IGNORE
/^X-Originating-IP:/         IGNORE
/^x-cr-[a-z]*:/              IGNORE
/^Thread-Index:/             IGNORE
27.更改配置文件,/etc/postfix/main.cf ,内容如下:
# See /usr/share/postfix/main.cf.dist for a commented, more complete version
# The first text sent to a connecting process.
smtpd_banner = $myhostname ESMTP $mail_name
biff = no
# appending .domain is the MUA's job.
append_dot_mydomain = no
readme_directory = no
# SASL parameters
# ---------------------------------
# Use Dovecot to authenticate.
smtpd_sasl_type = dovecot
# Referring to /var/spool/postfix/private/auth
smtpd_sasl_path = private/auth
smtpd_sasl_auth_enable = yes
broken_sasl_auth_clients = yes
smtpd_sasl_security_options = noanonymous
smtpd_sasl_local_domain =
smtpd_sasl_authenticated_header = yes
# TLS parameters
# ---------------------------------
# Replace this with your SSL certificate path if you are using one.
smtpd_tls_cert_file=/etc/ssl/certs/yun_anqun_org.pem
smtpd_tls_key_file=/etc/ssl/private/yun_anqun_org.key
# The snakeoil self-signed certificate has no need for a CA file. But
# if you are using your own SSL certificate, then you probably have
# a CA certificate bundle from your provider. The path to that goes
# here.
#smtpd_tls_CAfile=/path/to/ca/file
smtp_tls_note_starttls_offer = yes
smtpd_tls_loglevel = 1
smtpd_tls_received_header = yes
smtpd_tls_session_cache_timeout = 3600s
tls_random_source = dev:/dev/urandom
#smtpd_tls_session_cache_database = btree:${data_directory}/smtpd_scache
#smtp_tls_session_cache_database = btree:${data_directory}/smtp_scache
# Note that forcing use of TLS is going to cause breakage - most mail servers
# don't offer it and so delivery will fail, both incoming and outgoing. This is
# unfortunate given what various governmental agencies are up to these days.
# These are Postfix 2.2 only.
#
# Enable (but don't force) use of TLS on incoming smtp connections.
smtpd_use_tls = yes
smtpd_enforce_tls = no
# Enable (but don't force) use of TLS on outgoing smtp connections.
smtp_use_tls = yes
smtp_enforce_tls = no
# These are Postfix 2.3 and later.
#
# Enable (but don't force) all incoming smtp connections to use TLS.
smtpd_tls_security_level = may
# Enable (but don't force) all outgoing smtp connections to use TLS.
smtp_tls_security_level = may
# See /usr/share/doc/postfix/TLS_README.gz in the postfix-doc package for
# information on enabling SSL in the smtp client.
# SMTPD parameters
# ---------------------------------
# Uncomment the next line to generate "delayed mail" warnings
#delay_warning_time = 4h
# will it be a permanent error or temporary
unknown_local_recipient_reject_code = 450
# how long to keep message on queue before return as failed.
# some have 3 days, I have 16 days as I am backup server for some people
# whom go on holiday with their server switched off.
maximal_queue_lifetime = 7d
# max and min time in seconds between retries if connection failed
minimal_backoff_time = 1000s
maximal_backoff_time = 8000s
# how long to wait when servers connect before receiving rest of data
smtp_helo_timeout = 60s
# how many address can be used in one message.
# effective stopper to mass spammers, accidental copy in whole address list
# but may restrict intentional mail shots.
smtpd_recipient_limit = 16
# how many error before back off.
smtpd_soft_error_limit = 3
# how many max errors before blocking it.
smtpd_hard_error_limit = 12
# This next set are important for determining who can send mail and relay mail
# to other servers. It is very important to get this right - accidentally producing
# an open relay that allows unauthenticated sending of mail is a Very Bad Thing.
#
# You are encouraged to read up on what exactly each of these options accomplish.
# Requirements for the HELO statement
smtpd_helo_restrictions = permit_mynetworks, warn_if_reject reject_non_fqdn_hostname, reject_invalid_hostname, permit
# Requirements for the sender details
smtpd_sender_restrictions = permit_sasl_authenticated, permit_mynetworks, warn_if_reject reject_non_fqdn_sender, reject_unknown_sender_domain, reject_unauth_pipelining, permit
# Requirements for the connecting server
# This is primarily the RBL (Realtime Blacklist) Filtering
smtpd_client_restrictions = reject_rbl_client b.barracudacentral.org, reject_rbl_client zen.spamhaus.org
# Requirement for the recipient address. Note that the entry for
# "check_policy_service inet:127.0.0.1:10023" enables Postgrey.
smtpd_recipient_restrictions = reject_unauth_pipelining, permit_mynetworks, permit_sasl_authenticated, reject_non_fqdn_recipient, reject_unknown_recipient_domain, reject_unauth_destination, permit
smtpd_data_restrictions = reject_unauth_pipelining
# This is a new option as of Postfix 2.10+, and is required in addition to
# smtpd_recipient_restrictions for things to work properly in this setup.
smtpd_relay_restrictions = reject_unauth_pipelining, permit_mynetworks, permit_sasl_authenticated, reject_non_fqdn_recipient, reject_unknown_recipient_domain, reject_unauth_destination, permit
# require proper helo at connections
smtpd_helo_required = yes
# waste spammers time before rejecting them
smtpd_delay_reject = yes
disable_vrfy_command = yes
# General host and delivery info
# ----------------------------------
myhostname = yun.anqun.org
myorigin = /etc/hostname
# Some people see issues when setting mydestination explicitly to the server
# subdomain, while leaving it empty generally doesn't hurt. So it is left empty here.
# mydestination = mail.example.com, localhost
mydestination =
# If you have a separate web server that sends outgoing mail through this
# mailserver, you may want to add its IP address to the space-delimited list in
# mynetworks, e.g. as 111.222.333.444/32.
mynetworks = 127.0.0.0/8 [::ffff:127.0.0.0]/104 [::1]/128
mailbox_size_limit = 0
recipient_delimiter = +
inet_interfaces = all
mynetworks_style = host
# This specifies where the virtual mailbox folders will be located.
virtual_mailbox_base = /var/vmail
# This is for the mailbox location for each user. The domainaliases
# map allows us to make use of Postfix Admin's domain alias feature.
virtual_mailbox_maps = mysql:/etc/postfix/mysql_virtual_mailbox_maps.cf, mysql:/etc/postfix/mysql_virtual_mailbox_domainaliases_maps.cf
# and their user id
virtual_uid_maps = static:150
# and group id
virtual_gid_maps = static:8
# This is for aliases. The domainaliases map allows us to make
# use of Postfix Admin's domain alias feature.
virtual_alias_maps = mysql:/etc/postfix/mysql_virtual_alias_maps.cf, mysql:/etc/postfix/mysql_virtual_alias_domainaliases_maps.cf
# This is for domain lookups.
virtual_mailbox_domains = mysql:/etc/postfix/mysql_virtual_domains_maps.cf
# Integration with other packages
# ---------------------------------------
# Tell postfix to hand off mail to the definition for dovecot in master.cf
virtual_transport = dovecot
dovecot_destination_recipient_limit = 1
# Use amavis for virus and spam scanning
# content_filter = amavis:[127.0.0.1]:10024
# Header manipulation
# --------------------------------------
# Getting rid of unwanted headers. See: https://posluns.com/guides/header-removal/
header_checks = regexp:/etc/postfix/header_checks
# getting rid of x-original-to
enable_original_recipient = no
28.编辑配置文件,/etc/postfix/master.cf ,内容如下:
#
# Postfix master process configuration file.  For details on the format
# of the file, see the master(5) manual page (command: "man 5 master").
#
# Do not forget to execute "postfix reload" after editing this file.
#
# ==========================================================================
# service type  private unpriv  chroot  wakeup  maxproc command + args
#               (yes)   (yes)   (yes)   (never) (100)
# ==========================================================================
# SMTP on port 25, unencrypted.
smtp      inet  n       -       -       -       -       smtpd
#smtp      inet  n       -       -       -       1       postscreen
#smtpd     pass  -       -       -       -       -       smtpd
#dnsblog   unix  -       -       -       -       0       dnsblog
#tlsproxy  unix  -       -       -       -       0       tlsproxy
# SMTP with TLS on port 587.
submission inet n       -       -       -       -       smtpd
  -o syslog_name=postfix/submission
  -o smtpd_tls_security_level=encrypt
  -o smtpd_sasl_auth_enable=yes
  -o smtpd_enforce_tls=yes
  -o smtpd_client_restrictions=permit_sasl_authenticated,reject_unauth_destination,reject
  -o smtpd_sasl_tls_security_options=noanonymous
# SMTP over SSL on port 465.
smtps     inet  n       -       -       -       -       smtpd
  -o syslog_name=postfix/smtps
  -o smtpd_tls_wrappermode=yes
  -o smtpd_sasl_auth_enable=yes
  -o smtpd_tls_auth_only=yes
  -o smtpd_client_restrictions=permit_sasl_authenticated,reject_unauth_destination,reject
  -o smtpd_sasl_security_options=noanonymous,noplaintext
  -o smtpd_sasl_tls_security_options=noanonymous
#628       inet  n       -       -       -       -       qmqpd
pickup    fifo  n       -       -       60      1       pickup
  -o content_filter=
  -o receive_override_options=no_header_body_checks
cleanup   unix  n       -       -       -       0       cleanup
qmgr      fifo  n       -       n       300     1       qmgr
#qmgr     fifo  n       -       n       300     1       oqmgr
tlsmgr    unix  -       -       -       1000?   1       tlsmgr
rewrite   unix  -       -       -       -       -       trivial-rewrite
bounce    unix  -       -       -       -       0       bounce
defer     unix  -       -       -       -       0       bounce
trace     unix  -       -       -       -       0       bounce
verify    unix  -       -       -       -       1       verify
flush     unix  n       -       -       1000?   0       flush
proxymap  unix  -       -       n       -       -       proxymap
proxywrite unix -       -       n       -       1       proxymap
smtp      unix  -       -       -       -       -       smtp
relay     unix  -       -       -       -       -       smtp
#       -o smtp_helo_timeout=5 -o smtp_connect_timeout=5
showq     unix  n       -       -       -       -       showq
error     unix  -       -       -       -       -       error
retry     unix  -       -       -       -       -       error
discard   unix  -       -       -       -       -       discard
local     unix  -       n       n       -       -       local
virtual   unix  -       n       n       -       -       virtual
lmtp      unix  -       -       -       -       -       lmtp
anvil     unix  -       -       -       -       1       anvil
scache    unix  -       -       -       -       1       scache
#
# ====================================================================
# Interfaces to non-Postfix software. Be sure to examine the manual
# pages of the non-Postfix software to find out what options it wants.
#
# Many of the following services use the Postfix pipe(8) delivery
# agent.  See the pipe(8) man page for information about ${recipient}
# and other message envelope options.
# ====================================================================
#
# maildrop. See the Postfix MAILDROP_README file for details.
# Also specify in main.cf: maildrop_destination_recipient_limit=1
#
maildrop  unix  -       n       n       -       -       pipe
  flags=DRhu user=vmail argv=/usr/bin/maildrop -d ${recipient}
#
# ====================================================================
#
# Recent Cyrus versions can use the existing "lmtp" master.cf entry.
#
# Specify in cyrus.conf:
#   lmtp    cmd="lmtpd -a" listen="localhost:lmtp" proto=tcp4
#
# Specify in main.cf one or more of the following:
#  mailbox_transport = lmtp:inet:localhost
#  virtual_transport = lmtp:inet:localhost
#
# ====================================================================
#
# Cyrus 2.1.5 (Amos Gouaux)
# Also specify in main.cf: cyrus_destination_recipient_limit=1
#
#cyrus     unix  -       n       n       -       -       pipe
#  user=cyrus argv=/cyrus/bin/deliver -e -r ${sender} -m ${extension} ${user}
#
# ====================================================================
# Old example of delivery via Cyrus.
#
#old-cyrus unix  -       n       n       -       -       pipe
#  flags=R user=cyrus argv=/cyrus/bin/deliver -e -m ${extension} ${user}
#
# ====================================================================
#
# See the Postfix UUCP_README file for configuration details.
#
uucp      unix  -       n       n       -       -       pipe
  flags=Fqhu user=uucp argv=uux -r -n -z -a$sender - $nexthop!rmail ($recipient)
#
# Other external delivery methods.
#
ifmail    unix  -       n       n       -       -       pipe
  flags=F user=ftn argv=/usr/lib/ifmail/ifmail -r $nexthop ($recipient)
bsmtp     unix  -       n       n       -       -       pipe
  flags=Fq. user=bsmtp argv=/usr/lib/bsmtp/bsmtp -t$nexthop -f$sender $recipient
scalemail-backend unix  -       n       n       -       2       pipe
  flags=R user=scalemail argv=/usr/lib/scalemail/bin/scalemail-store ${nexthop} ${user} ${extension}
mailman   unix  -       n       n       -       -       pipe
  flags=FR user=list argv=/usr/lib/mailman/bin/postfix-to-mailman.py
  ${nexthop} ${user}
# The next two entries integrate with Amavis for anti-virus/spam checks.
amavis      unix    -       -       -       -       3       smtp
  -o smtp_data_done_timeout=1200
  -o smtp_send_xforward_command=yes
  -o disable_dns_lookups=yes
  -o max_use=20
127.0.0.1:10025 inet    n       -       -       -       -       smtpd
  -o content_filter=
  -o local_recipient_maps=
  -o relay_recipient_maps=
  -o smtpd_restriction_classes=
  -o smtpd_delay_reject=no
  -o smtpd_client_restrictions=permit_mynetworks,reject
  -o smtpd_helo_restrictions=
  -o smtpd_sender_restrictions=
  -o smtpd_recipient_restrictions=permit_mynetworks,reject
  -o smtpd_data_restrictions=reject_unauth_pipelining
  -o smtpd_end_of_data_restrictions=
  -o mynetworks=127.0.0.0/8
  -o smtpd_error_sleep_time=0
  -o smtpd_soft_error_limit=1001
  -o smtpd_hard_error_limit=1000
  -o smtpd_client_connection_count_limit=0
  -o smtpd_client_connection_rate_limit=0
  -o receive_override_options=no_header_body_checks,no_unknown_recipient_checks
# Integration with Dovecot - hand mail over to it for local delivery, and
# run the process under the vmail user and mail group.
dovecot      unix   -        n      n       -       -   pipe
  flags=DRhu user=vmail:mail argv=/usr/lib/dovecot/dovecot-lda -d $(recipient)
29.重启相应的服务:
service postfix restart
service dovecot restart
30.如报错,可查看 /var/log/mail.log 及 /var/log/mail.err
31.下载 roundcubemail-1.2.2-complete.tar.gz,解压放到 /var/www/html/webmail
32.更改程序目录权限
chown -R www-data:www-data /var/www/html/webmail
33.创建新数据库 roundcubemail ,数据库用户名 roundcube,密码 qtest87 ,并分配合适权限:
CREATE DATABASE roundcubemail;
GRANT ALL PRIVILEGES ON roundcubemail.* TO roundcube@localhost IDENTIFIED BY 'aqtest87';
FLUSH PRIVILEGES;
34.浏览器访问:https://yun.anqun.org/webmail/installer 开始安装
参考:

