感谢“系甘”。
monica 是一款 Personal Relationship Management ,私人社交关系管家。
环境:Debian 9 64位
过程:
1.apt install ca-certificates apt-transport-https # 让apt支持https源
2.wget -q https://packages.sury.org/php/apt.gpg -O- | apt-key add - # 添加 sury.org 的验证匙
3.echo "deb https://packages.sury.org/php/ stretch main" | sudo tee /etc/apt/sources.list.d/php.list # 添加 sury.org 的php7.1安装源
4.apt update # 更新安装源
5.apt install apache2 mariadb-server php7.1 php7.1-cli php7.1-common php7.1-json php7.1-opcache php7.1-mysql php7.1-mbstring php7.1-mcrypt php7.1-zip php7.1-fpm php7.1-bcmath php7.1-intl php7.1-xml php7.1-curl php7.1-gd git curl # 安装 apache, mariadb, php7.1, git 等

6.wget https://dl.laravel-china.org/composer.phar -O /usr/local/bin/composer # 安装composer,用国内的镜像较快
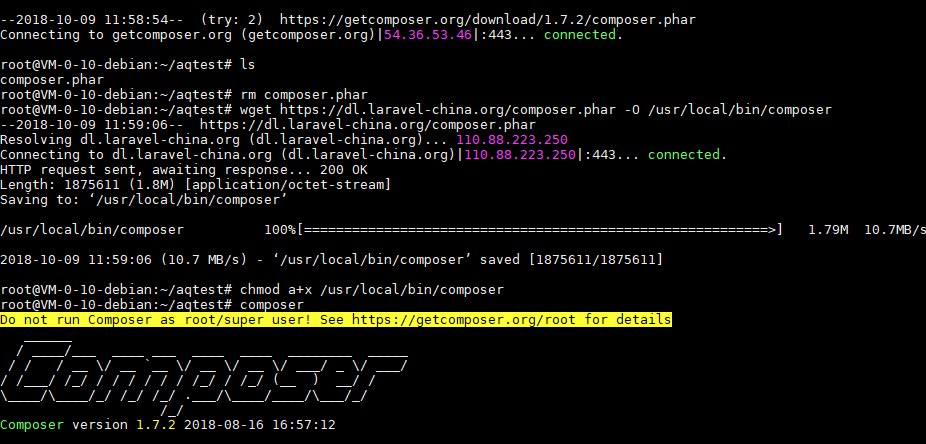
7.chmod a+x /usr/local/bin/composer # 添加执行权限
8.git clone https://github.com/monicahq/monica.git /var/www/monica # 下载monica到/var/www
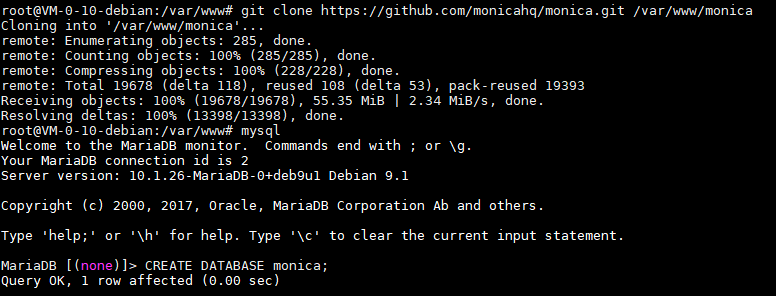
9.创建数据库,数据库用户,给monica使用
mysql
CREATE DATABASE monica;
CREATE USER 'monica'@'localhost' IDENTIFIED BY 'mimamima';
GRANT ALL ON monica.* TO 'monica'@'localhost';
exit
10.chown -R www-data. /var/www # 设置文件权限
11.su www-data && cd /var/www/monica # 切换到www-data用户,配置monica,如切换用户失败,请临时在/etc/password文件里,配置www-data使用/bin/bash

12.cp .env.example .env # 创建配置文件.env,修改里边的mysql数据库连接信息
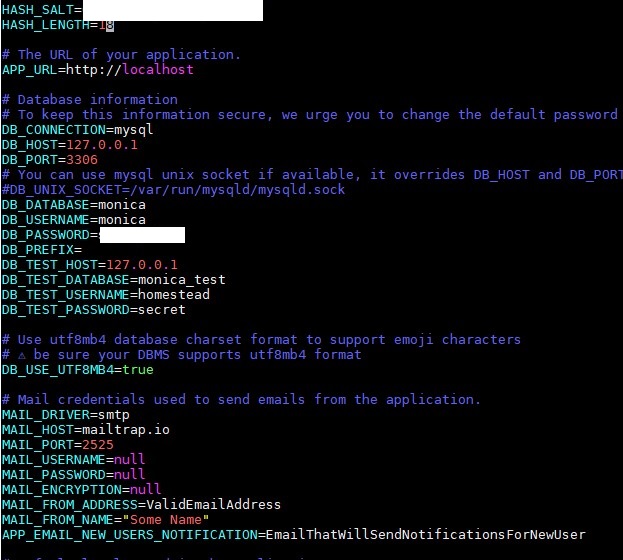
13.composer config -g repo.packagist composer https://packagist.laravel-china.org && composer install --no-interaction --no-suggest --no-dev --ignore-platform-reqs # 安装依赖包

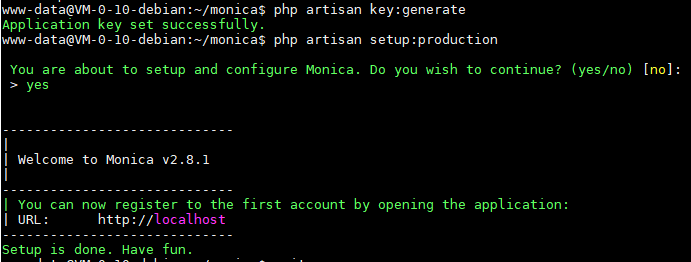
14.php artisan key:generate # 生成新的key
15.php artisan setup:production # 初始化
16.crontab -e # 添加定时任务
* * * * * sudo -u www-data php /var/www/monica/artisan schedule:run
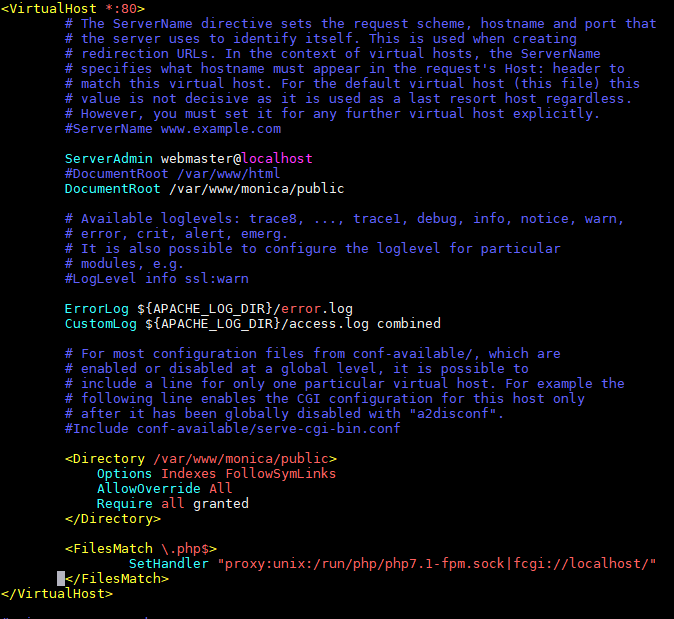
17./etc/apache2/sites-enabled/000-default.conf
# 更改默认站点的配置文件,文件路径设置为
DocumentRoot /var/www/monica/public

# 添加目录配置内容
<Directory /var/www/monica/public>
    Options Indexes FollowSymLinks
    AllowOverride All
    Require all granted
</Directory>

# 添加php文件处理
<FilesMatch \.php$>
   SetHandler "proxy:unix:/run/php/php7.1-fpm.sock|fcgi://localhost/"
</FilesMatch>
18.a2enmod rewrite proxy_fcgi # 启用 apache 的 rewrite 和 fcgi 模块
19.systemctl restart apache2 # 重启 apache
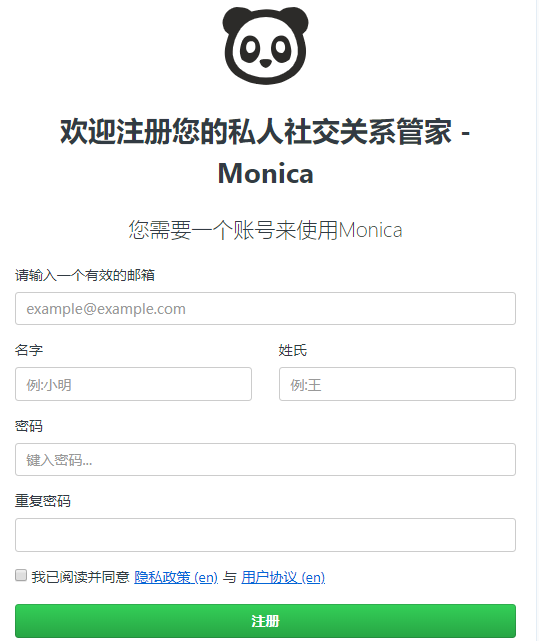
20.在浏览器里测试访问monica,正常
参考:

