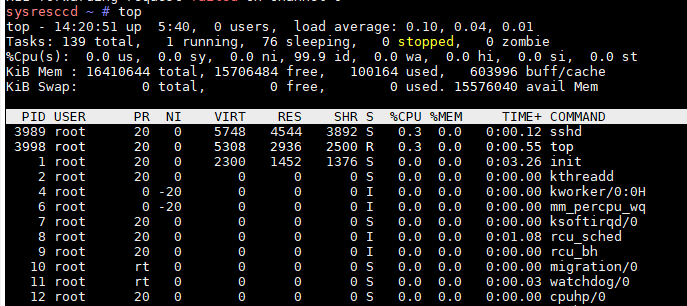
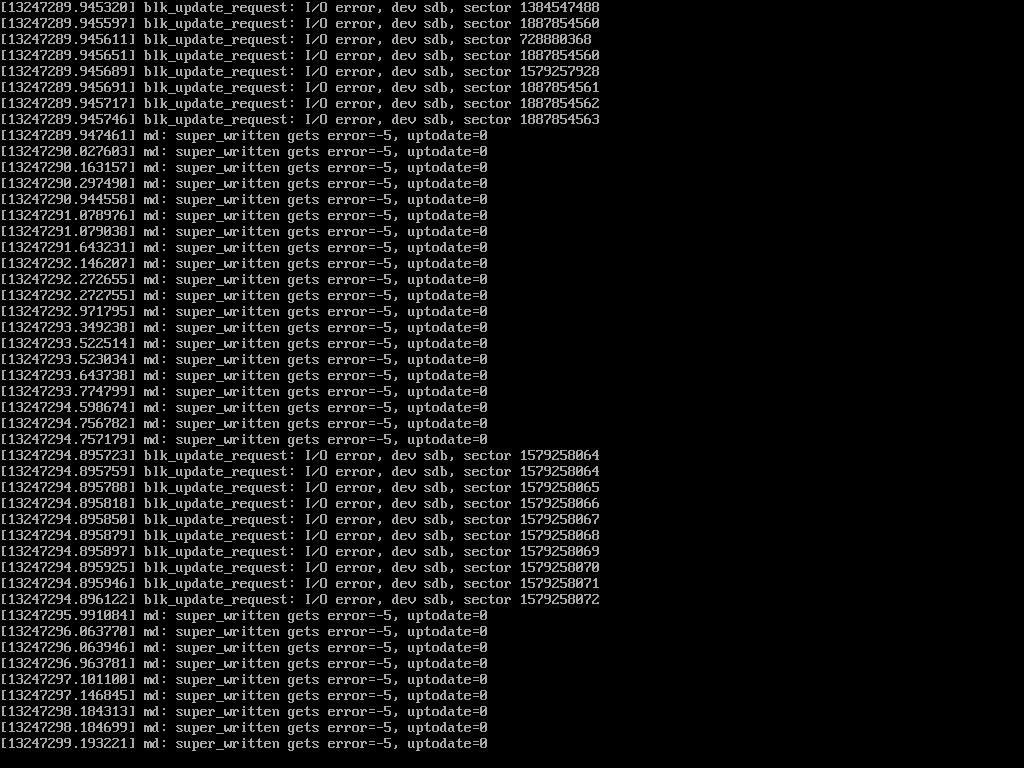
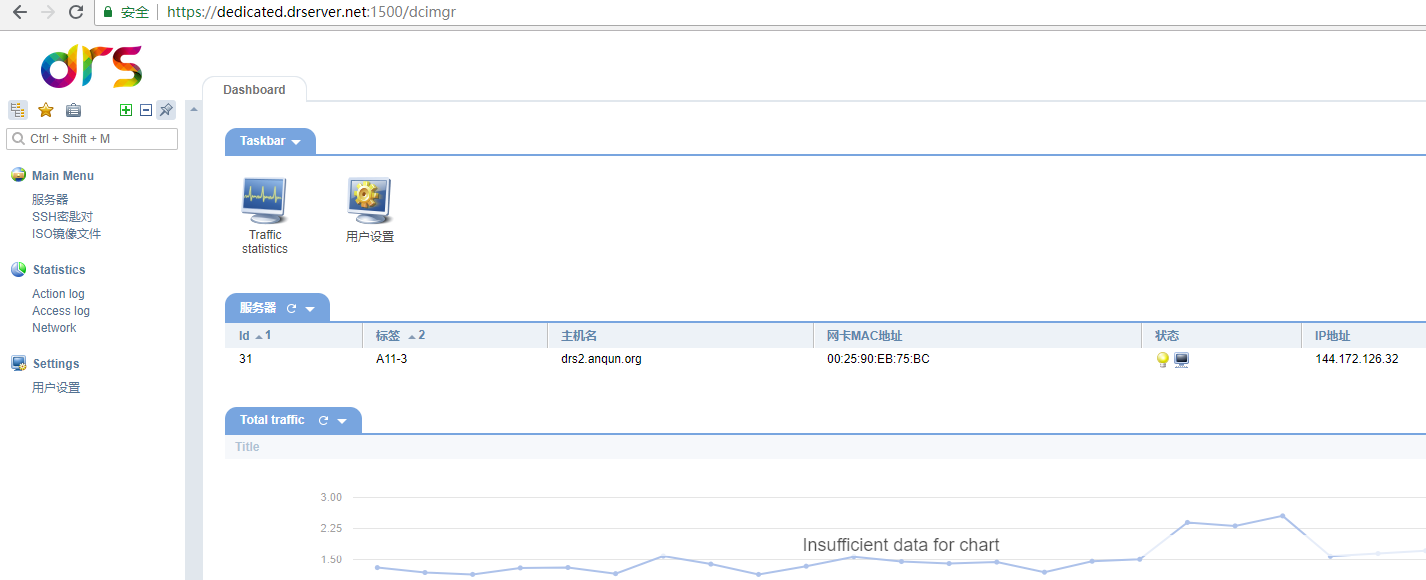
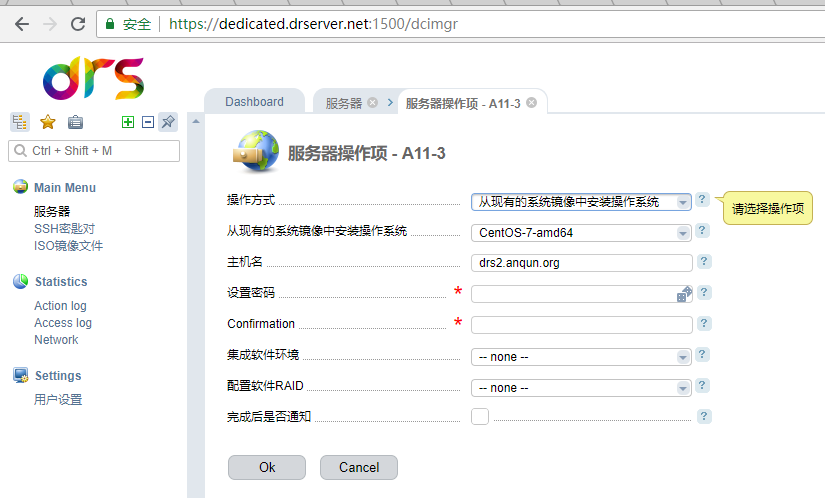
环境:drserver.net 超微主板的凌动服务器($20.00);Windows 10安装ISO文件;Dism++;7-zip;网卡驱动文件;DeployVHD
思路:
1.下载好Windows 10安装ISO文件,如 cn_windows_10_business_edition_version_1803_updated_jul_2018_x64_dvd_12613133.iso
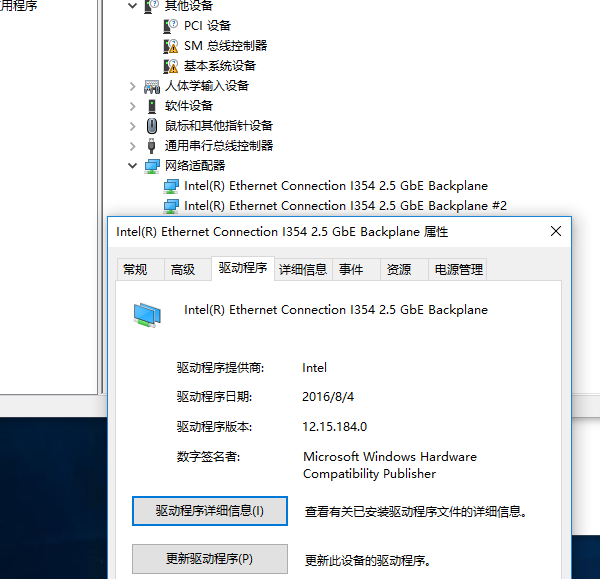
2.按“蜂鸣器”博客里提到的方法,通过Dism++制作好包含“intel ethernet connection I354 2.5 gbe backplane”网卡驱动的映像文件,将映像文件释放到vhd
3.通过DeployVHD,应用无人值守配置文件Unattend.xml,启用远程桌面,且允许通过Windows防火墙,设置管理员administrator的密码,设置自动登录,设置“以太网”的网卡静态IP。如果是设置为中文语言的,需要留意/Windows/panther/Unattend.xml的文件内容,因为汉字的网卡名称可能会保存异常,否则可能在安装时会提示无人值守文件检查失败
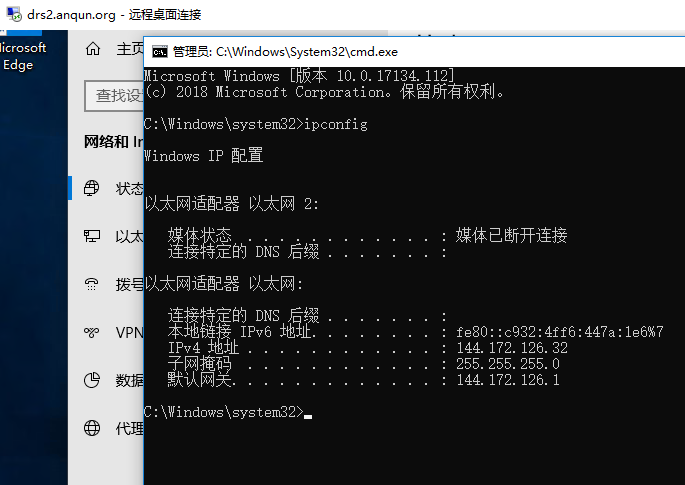
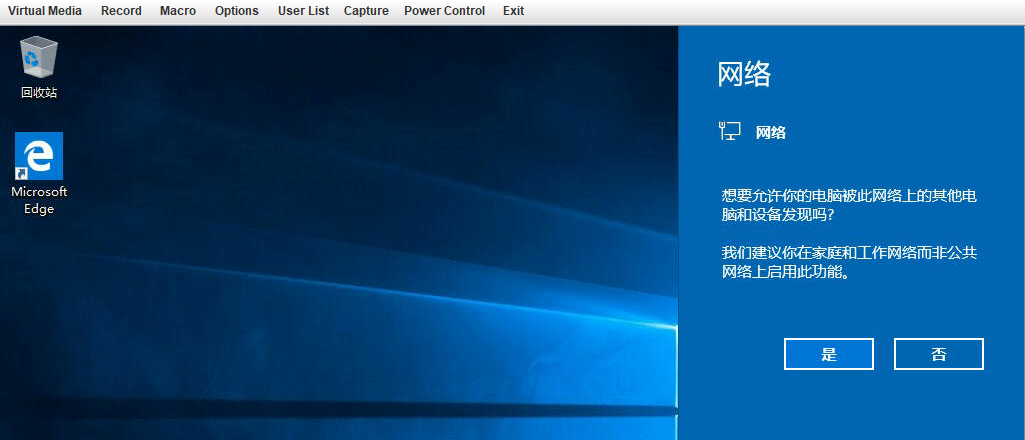
4.压缩包含有无人值守安装设置的vhd文件。在机子上安装测试,通过
/Windows/panther/Unattend.xml 文件内容:
<?xml version="1.0" encoding="utf-8"?>
<unattend xmlns="urn:schemas-microsoft-com:unattend">
    <settings pass="specialize">
        <component name="Microsoft-Windows-Shell-Setup" processorArchitecture="amd64" publicKeyToken="31bf3856ad364e35" language="neutral" versionScope="nonSxS" xmlns:wcm="http://schemas.microsoft.com/WMIConfig/2002/State" xmlns:xsi="http://www.w3.org/2001/XMLSchema-instance">
        </component>
        <component name="Microsoft-Windows-TerminalServices-LocalSessionManager" processorArchitecture="amd64" publicKeyToken="31bf3856ad364e35" language="neutral" versionScope="nonSxS" xmlns:wcm="http://schemas.microsoft.com/WMIConfig/2002/State" xmlns:xsi="http://www.w3.org/2001/XMLSchema-instance">
            <fDenyTSConnections>false</fDenyTSConnections>
        </component>
        <component name="Microsoft-Windows-TerminalServices-RDP-WinStationExtensions" processorArchitecture="amd64" publicKeyToken="31bf3856ad364e35" language="neutral" versionScope="nonSxS" xmlns:wcm="http://schemas.microsoft.com/WMIConfig/2002/State" xmlns:xsi="http://www.w3.org/2001/XMLSchema-instance">
            <UserAuthentication>0</UserAuthentication>
        </component>
        <component name="Networking-MPSSVC-Svc" processorArchitecture="amd64" publicKeyToken="31bf3856ad364e35" language="neutral" versionScope="nonSxS" xmlns:wcm="http://schemas.microsoft.com/WMIConfig/2002/State" xmlns:xsi="http://www.w3.org/2001/XMLSchema-instance">
            <FirewallGroups>
                <FirewallGroup wcm:action="add" wcm:keyValue="RemoteDesktop">
                    <Group>@FirewallAPI.dll,-28752</Group>
                    <Profile>all</Profile>
                    <Active>true</Active>
                </FirewallGroup>
            </FirewallGroups>
        </component>
    </settings>
    <settings pass="oobeSystem">
        <component name="Microsoft-Windows-International-Core" processorArchitecture="amd64" publicKeyToken="31bf3856ad364e35" language="neutral" versionScope="nonSxS" xmlns:wcm="http://schemas.microsoft.com/WMIConfig/2002/State" xmlns:xsi="http://www.w3.org/2001/XMLSchema-instance">
            <InputLocale>007f:00000804</InputLocale>
            <SystemLocale>zh-CN</SystemLocale>
            <UILanguage>zh-CN</UILanguage>
            <UILanguageFallback>zh-CN</UILanguageFallback>
            <UserLocale>zh-CN</UserLocale>
        </component>
        <component name="Microsoft-Windows-Shell-Setup" processorArchitecture="amd64" publicKeyToken="31bf3856ad364e35" language="neutral" versionScope="nonSxS" xmlns:wcm="http://schemas.microsoft.com/WMIConfig/2002/State" xmlns:xsi="http://www.w3.org/2001/XMLSchema-instance">
            <AutoLogon>
                <Password>
                    <Value>xinNIANhao2019</Value>
                    <PlainText>true</PlainText>
                </Password>
                    <Enabled>true</Enabled>
                    <LogonCount>5</LogonCount>
                <Username>Administrator</Username>
            </AutoLogon>
            <FirstLogonCommands>
                <SynchronousCommand wcm:action="add">
                    <CommandLine>powershell.exe Get-NetAdapter -Name *  | ? status -eq up | Rename-NetAdapter -NewName "iEtherNet"</CommandLine>
                    <Description>rename nic name</Description>
                    <Order>1</Order>
                </SynchronousCommand>
                <SynchronousCommand wcm:action="add">
                    <CommandLine>powershell.exe New-NetIPAddress -IPAddress "144.172.126.32" -InterfaceAlias "iEtherNet" -PrefixLength 24 -DefaultGateway 144.172.126.1</CommandLine>
                    <Description>set static ip address</Description>
                    <Order>2</Order>
                </SynchronousCommand>
                <SynchronousCommand wcm:action="add">
                    <CommandLine>powershell.exe Set-DnsClientServerAddress -InterfaceAlias "iEtherNet" -ServerAddresses 8.8.8.8</CommandLine>
                    <Description>set dns server</Description>
                    <Order>3</Order>
                </SynchronousCommand>
            </FirstLogonCommands>
            <UserAccounts>
                <AdministratorPassword>
                    <Value>xinNIANhao2019</Value>
                    <PlainText>true</PlainText>
                </AdministratorPassword>
            </UserAccounts>
            <OOBE>
                <HideEULAPage>true</HideEULAPage>
                <SkipMachineOOBE>true</SkipMachineOOBE>
            </OOBE>
            <TimeZone>China Standard Time</TimeZone>
        </component>
    </settings>
    <cpi:offlineImage cpi:source="catalog:d:/temp/install_windows server 2012 r2 serverdatacenter.clg" xmlns:cpi="urn:schemas-microsoft-com:cpi" />
</unattend>
参考:
