标签 dante 下的文章

danted 的多IP多端口批量设置

需求:如果机子上有多个IP地址,需要设置socks5的不同IP不同端口连接,哪个IP连接就用哪个IP出口。

过程:

  1. https://github.com/Lozy/danted/blob/master/README_CN.md # 这里有一键安装脚本文件,可以实现不同IP同一端口连接,哪个IP连接就用哪个IP出口。如其中提到生成配置文件内容的:

    # Generate interface ${ipaddr}
    internal: ${ipaddr}  port = ${port}
    external: ${ipaddr}
  2. awk -v RS="2016" '{n+=1;printf $0n}' sk.txt # 如果需要使用不同的端口,可使用awk替换固定的端口为自增的端口号
  3. ulimit -n 16384 # 如果IP很多,可能需要新增打开文件数的限制数值

参考:

在CentOS 7里安装dante socks5

sock5方便公司管理业务,如外网的访问。

环境:CentOS 7 64位, dante 1.4.1

过程:

1.rpm -ivh http://mirror.ghettoforge.org/distributions/gf/el/7/plus/x86_64/dante-1.4.1-176.9.x86_64.rpm # 安装 dante

2.rpm -ivh http://mirror.ghettoforge.org/distributions/gf/el/7/plus/x86_64/dante-server-1.4.1-176.9.x86_64.rpm # 安装 dante-server

3.adduser --no-create-home --shell /usr/sbin/nologin sktest # 添加 sktest 新用户,且设置密码

4.mkdir /var/run/sockd # 创建 sockd 的目录

5.vi /etc/sockd.conf # 创建或修改配置文件,内容如下:

logoutput: stderr

# logoutput: /var/log/sockd.log

# 使用本地所有可用网络接口的 3721 端口
internal: 0.0.0.0 port = 3721

# 输出接口设置为 eth0
external: eth0

# socks的验证方法,设置为 pam.username,本例中,是使用系统用户验证,即使用adduser添加用户
socksmethod: pam.username

user.privileged: root

user.unprivileged: nobody

# user.libwrap: nobody

# 访问规则
client pass {
        from: 0.0.0.0/0  to: 0.0.0.0/0
}

socks pass {
        from: 0.0.0.0/0 to: 0.0.0.0/0
        protocol: tcp udp
        socksmethod: pam.username
        log: connect disconnect
}

socks block {
        from: 0.0.0.0/0 to: 0.0.0.0/0
        log: connect error
}

6.vi /etc/pam.d/sockd # 创建配置文件,内容如下:

#%PAM-1.0
#auth      required     pam_sepermit.so
auth       include      system-auth
account    required     pam_nologin.so
account    include      system-auth
password   include      system-auth
# pam_selinux.so close should be the first session rule
session    required     pam_selinux.so close
session    required     pam_loginuid.so
# pam_selinux.so open should only be followed by sessions to be
executed in the 
user context
session    required     pam_selinux.so open env_params
session    optional     pam_keyinit.so force revoke
session    include      system-auth
session    required     pam_limits.so

7.systemctl start sockd # 启动服务

参考:
在Debian 9系统里安装dante socks5

sock5方便公司管理业务,如外网的访问。

环境:debian 9, dante 1.4.1

过程:

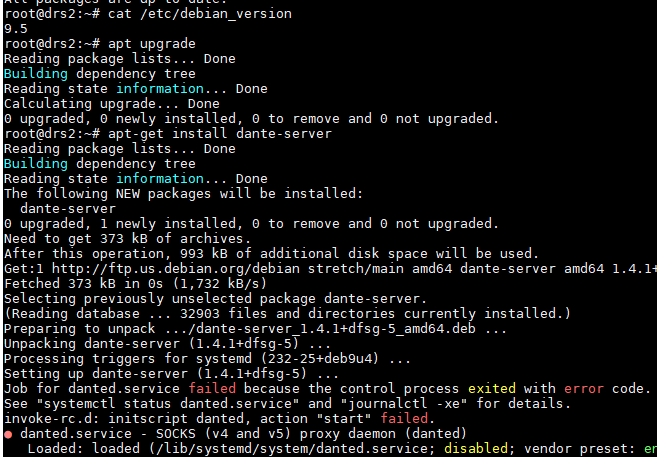
1.apt update # 更新软件仓库
2.apt-get install dante-server # 安装dante服务端
danted-1.png
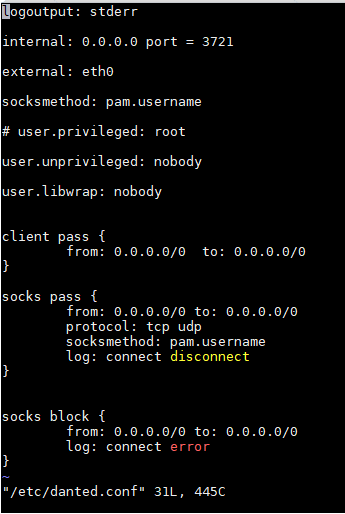
3.vi /etc/danted.conf # 编辑danted的配置文件内容,如下

# 标准错误记录
logoutput: stderr

# 使用本地所有可用网络接口的 3721 端口
internal: 0.0.0.0 port = 3721

# 输出接口设置为 eth0
external: eth0

# socks的验证方法,设置为 pam.username,本例中,是使用系统用户验证,即使用adduser添加用户
socksmethod: pam.username

# user.privileged: root

user.unprivileged: nobody

user.libwrap: nobody

# 访问规则
client pass {
        from: 0.0.0.0/0  to: 0.0.0.0/0
}

socks pass {
        from: 0.0.0.0/0 to: 0.0.0.0/0
        protocol: tcp udp
        socksmethod: pam.username
        log: connect disconnect
}

socks block {
        from: 0.0.0.0/0 to: 0.0.0.0/0
        log: connect error
}

danted-2.png
4.adduser --no-create-home --shell /usr/sbin/nologin liujia2 # 添加一个本地用户,不创建默认目录和登录Shell

5.systemctl start danted # 启动 danted 服务

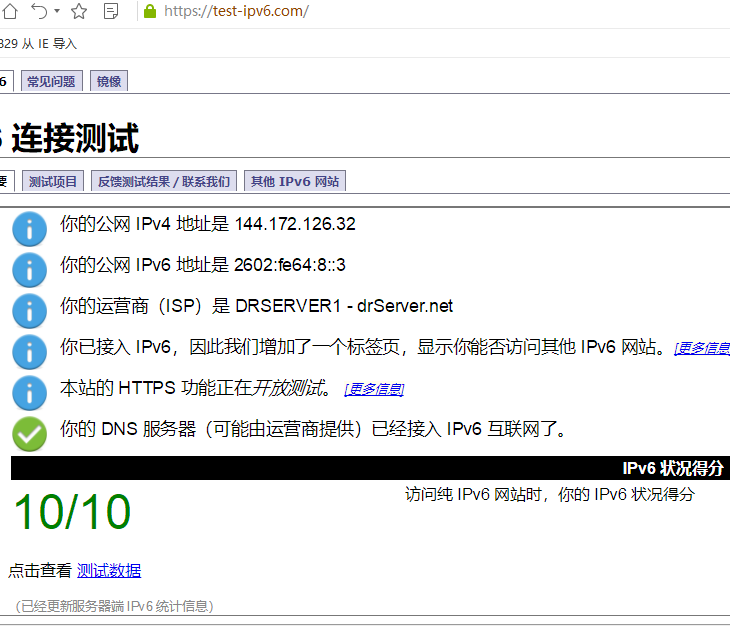
6.在浏览器里设置socks5代理,访问测试网站,显示socks5服务器的IP地址
danted-3.png

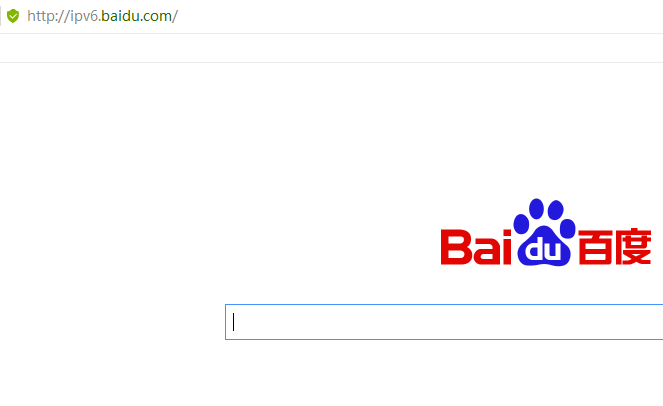
7.如服务器有IPv6,可以访问IPv6网站,如 ipv6.baidu.com
danted-4.png

参考: