标签 FreeBSD 下的文章

在FreeBSD 11.2里安装shadowsocks-libev

移动宽带价格挺实惠,但可能是因为多用户使用同一个公网的IPv4地址,且有时IPv4的地址在站点的数据库中会飘移,时不时会被认为账号有操作风险,要求人机验证或手机短验证。所以呢,有时不得不找个代理来浏览网站方便些。

系统:FreeBSD 11.2 64位

过程:

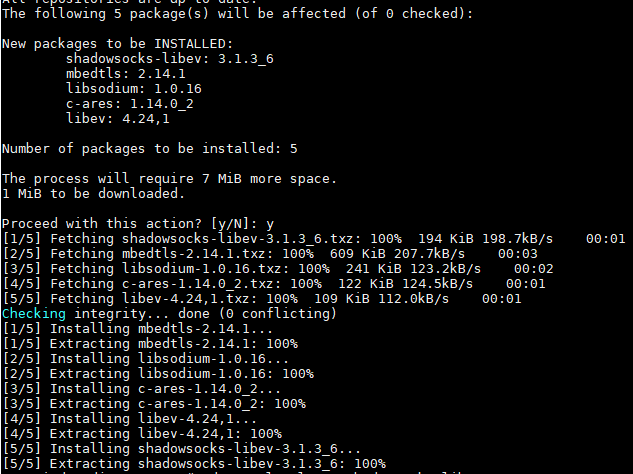
1.pkg install shadowsocks-libev # 安装 shadowsocks-libev
freebsd-shadowsock-libev-1.png

2.vi /usr/local/etc/shadowsocks-libev/config.json # 编辑配置文件,如更改监听的IP地址
freebsd-shadowsock-libev-2.png

3.sysrc shadowsocks_libev_enable="YES" # 启用 shadowsocks_libev 服务

4.service shadowsocks_libev onestart # 启动 shadowsocks_libev 服务
freebsd-shadowsock-libev-3.png

5.在浏览器里测试,正常
freebsd-shadowsock-libev-4.png

参考:https://www.freebsd.org/cgi/ports.cgi?query=shadowsocks&stype=all

在 FreeBSD 11.2 里安装使用 nginx + php7.1(php-fpm) + mysql 5.7

过程:

1.pkg install nginx # 安装 nginx-1.14

2.pkg install mysql57-server # 安装 mysql server 5.7

3.pkg install php71 php71-curl php71-gd php71-mbstring php71-mcrypt php71-mysqli php71-openssl php71-pdo_mysql php71-xml # 安装 php7.1 和相关模块

4.vi /usr/local/etc/nginx/nginx.conf # 编辑nginx配置文件,添加站点,如本例添加drs2.anqun.org的https站点

        server {
        listen       443 ssl;
        server_name  drs2.anqun.org;

        ssl_certificate      ssl/drs2.anqun.org.pem;
        ssl_certificate_key  ssl/drs2.anqun.org.key;

        ssl_session_cache    shared:SSL:1m;
        ssl_session_timeout  5m;

        ssl_ciphers  HIGH:!aNULL:!MD5;
         ssl_prefer_server_ciphers  on;

         location / {
                 root   /usr/local/www/nginx/drs2.anqun.org;
                 index  index.html index.htm index.php;
                 try_files $uri $uri/ /index.php?$args;
                }

        # pass the PHP scripts to FastCGI server listening on 127.0.0.1:9000
        #
        location ~ \.php$ {
            root           drs2.anqun.org;
            fastcgi_pass   127.0.0.1:9000;
            fastcgi_index  index.php;
            fastcgi_param  SCRIPT_FILENAME  /usr/local/www/nginx/drs2.anqun.org/$fastcgi_script_name;
            include        fastcgi_params;
        }

        }
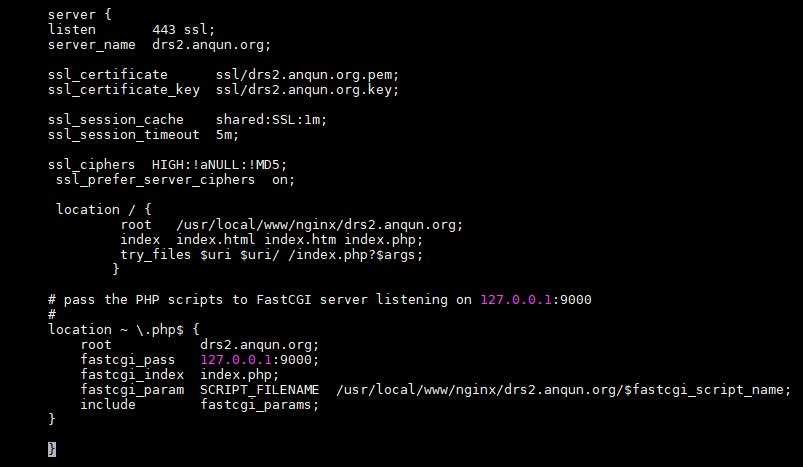
freebsd-nginx-php-mysql-1.png

5.sysrc nginx_enable=yes # 允许 nginx 服务

6.sysrc mysql_enable=yes # 允许 mysql 服务

7.sysrc php_fpm_enable=yes # 允许 php-fpm 服务

8.service nginx start # 启动 nginx 服务

9.service mysql-server start # 启动 nginx 服务

10.service php-fpm start # 启动 nginx 服务

11.ALTER USER 'root'@'localhost' IDENTIFIED BY 'niDEpASSWORD' ; # 首次启动mysql5.7后,root的密码会写在/root/.mysql_secret 文件里,需要用 ALTER USER 命令更改密码后使用
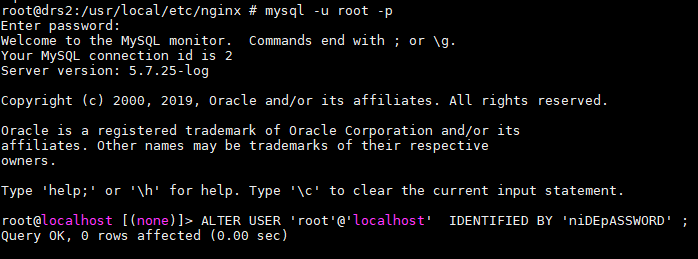
freebsd-nginx-php-mysql-2.png

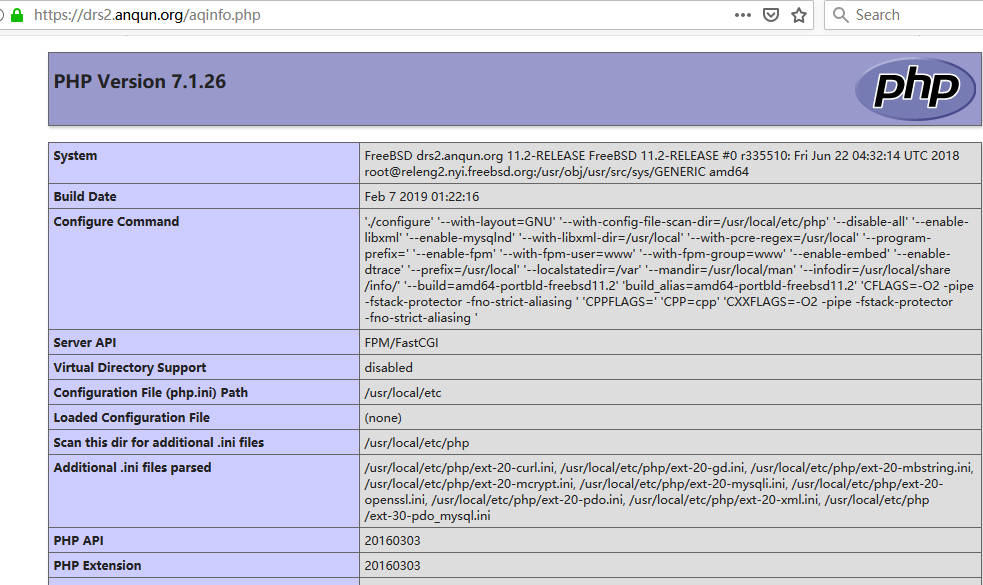
12.phpinfo显示信息
freebsd-nginx-php-mysql-3.png

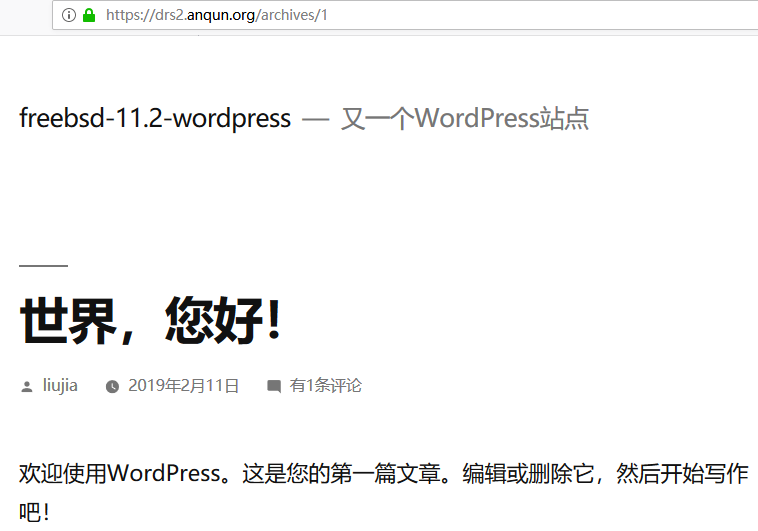
13.wordpress安装效果
freebsd-nginx-php-mysql-4.png

参考:https://www.digitalocean.com/community/tutorials/how-to-install-an-apache-mysql-and-php-famp-stack-on-freebsd-10-1
为阿里云ECS FreeBSD-11 实例系统盘扩容到40GB

阿里云当前FreeBSD-11公共镜像默认是20GB,如果实例系统盘有40GB,那需要扩容。

1.df -h # 查看当前磁盘使用情况,20GB
ali-growing-disk-freebsd-1.png

2.gpart show vtbd0 # 查看当前磁盘分区情况,显示 20GB 空闲
ali-growing-disk-freebsd-2.png

3.gpart resize -i 1 vtbd0 # 扩展第1分区,将所有未分配容量加到第3分区里
ali-growing-disk-freebsd-3.png

4.service growfs onestart # 启动 growfs 服务,自动完成扩展
ali-growing-disk-freebsd-4.png

5.再次使用df查看,正常显示系统可用容量
ali-growing-disk-freebsd-5.png

参考:

在FreeBSD 12里安装openlitespeed-1.5

FreeBSD 12 64位。

1.pkg install curl # 如果没有curl,请先安装

2.pkg intall pcre

3.pkg install rcs

4.pkg install GeoIP

5.pkg install udns

6.pkg install perl5.26

7.portsnap fetch # 不能通过pkg安装expat2,所以需要先获取ports

8.portsnap extract

9.cd /usr/ports/textproc/expat2; make install clean; rehash; # 安装 expat2

10.cd ~

11.fetch https://openlitespeed.org/packages/openlitespeed-1.5.0.src.tgz # 下载安装源码

12.cd openlitespeed-1.5.0 # 解压后进入文件目录

13../configure --with-pcre=/usr/local # 配置

14.make # 编辑

15.make install # 安装
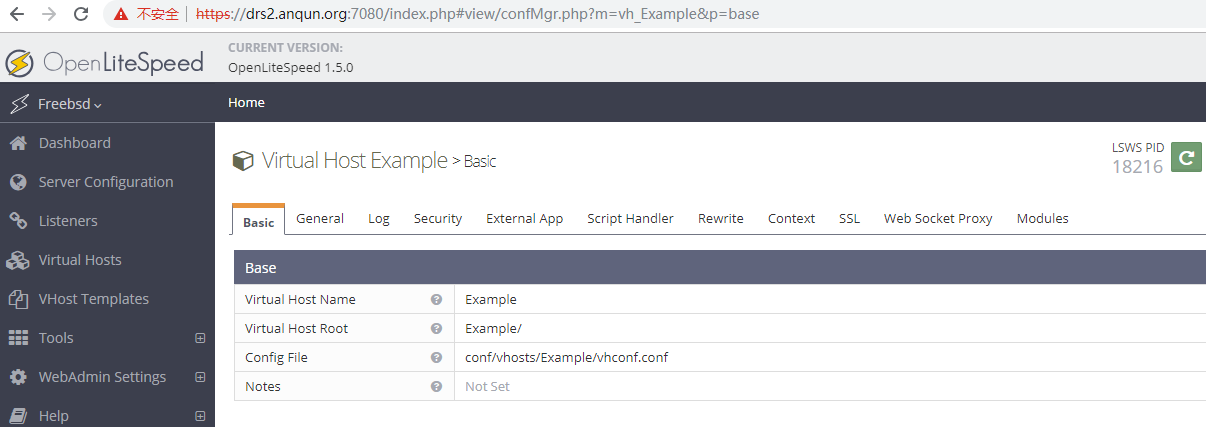
freebsd-openlitespeed-1.png

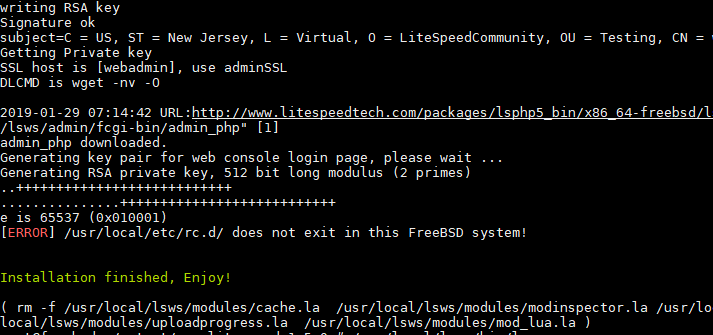
16./usr/local/lsws/bin/lswsctrl start # 启动 openlitespeed
freebsd-openlitespeed-2.png

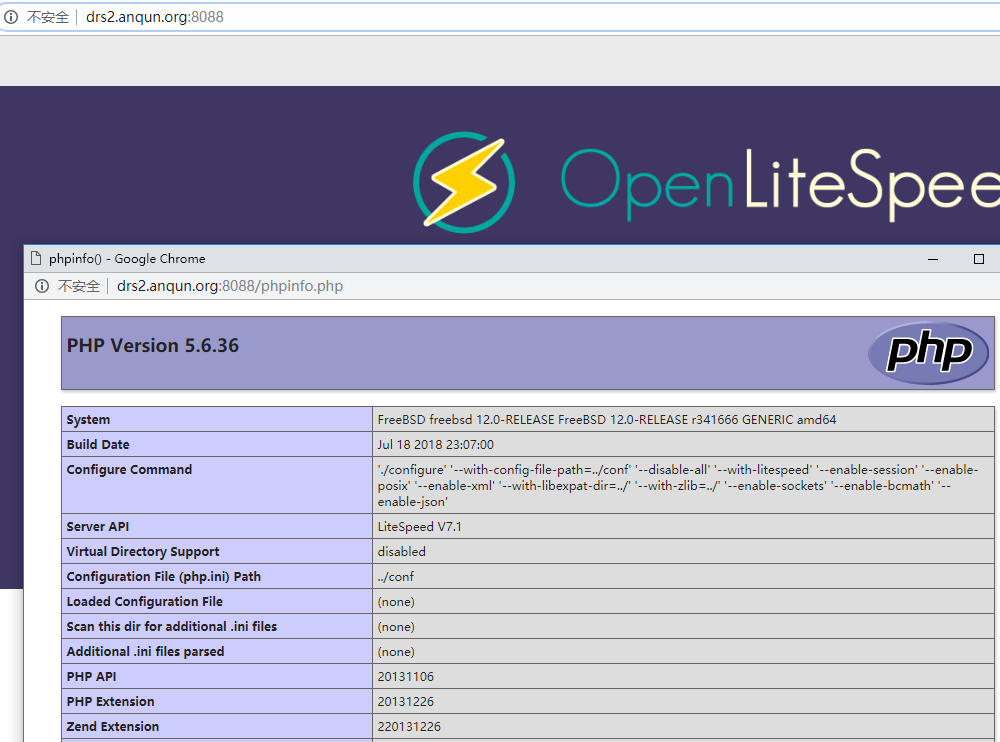
17.默认站点显示正常
freebsd-openlitespeed-3.png

18.管理后台
freebsd-openlitespeed-4.png

参考:https://openlitespeed.org/kb/installation-from-source-code/

升级FreeBSD到12版本后,无法ssh远程连接,ssh_exchange_identification

自助将FreeBSD-11,升级到12版本后,无法远程ssh连接,提示错误:ssh_exchange_identification: Connection closed by remote host。

过程:

1.service sshd start # 尝试启动sshd服务,提示错误:
/etc/ssh/sshd_config line 122: Bad SSH2 cipher spec... WARNING: failed precmd routing for sshd

ssh2-cipher-1.png

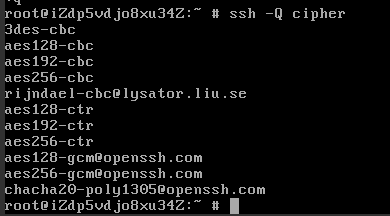
2.ssh -Q ciphe # 查询当前支持的加密方式
ssh2-cipher-2.png

3.vi /etc/ssh/sshd_config # 编辑sshd的配置文件,对比加密方式配置是否与上一步显示的相同,如有差异,删除多余的
ssh2-cipher-3.png

4.再次启动 sshd,成功,且可远程连接
ssh2-cipher-4.png

参考:https://superuser.com/questions/962090/bad-ssh2-cipher-spec-with-protocol-2-ciphers-and-openssh-7-1-server